A5 pt.2: Lamps
Week 2: Final Lamp!
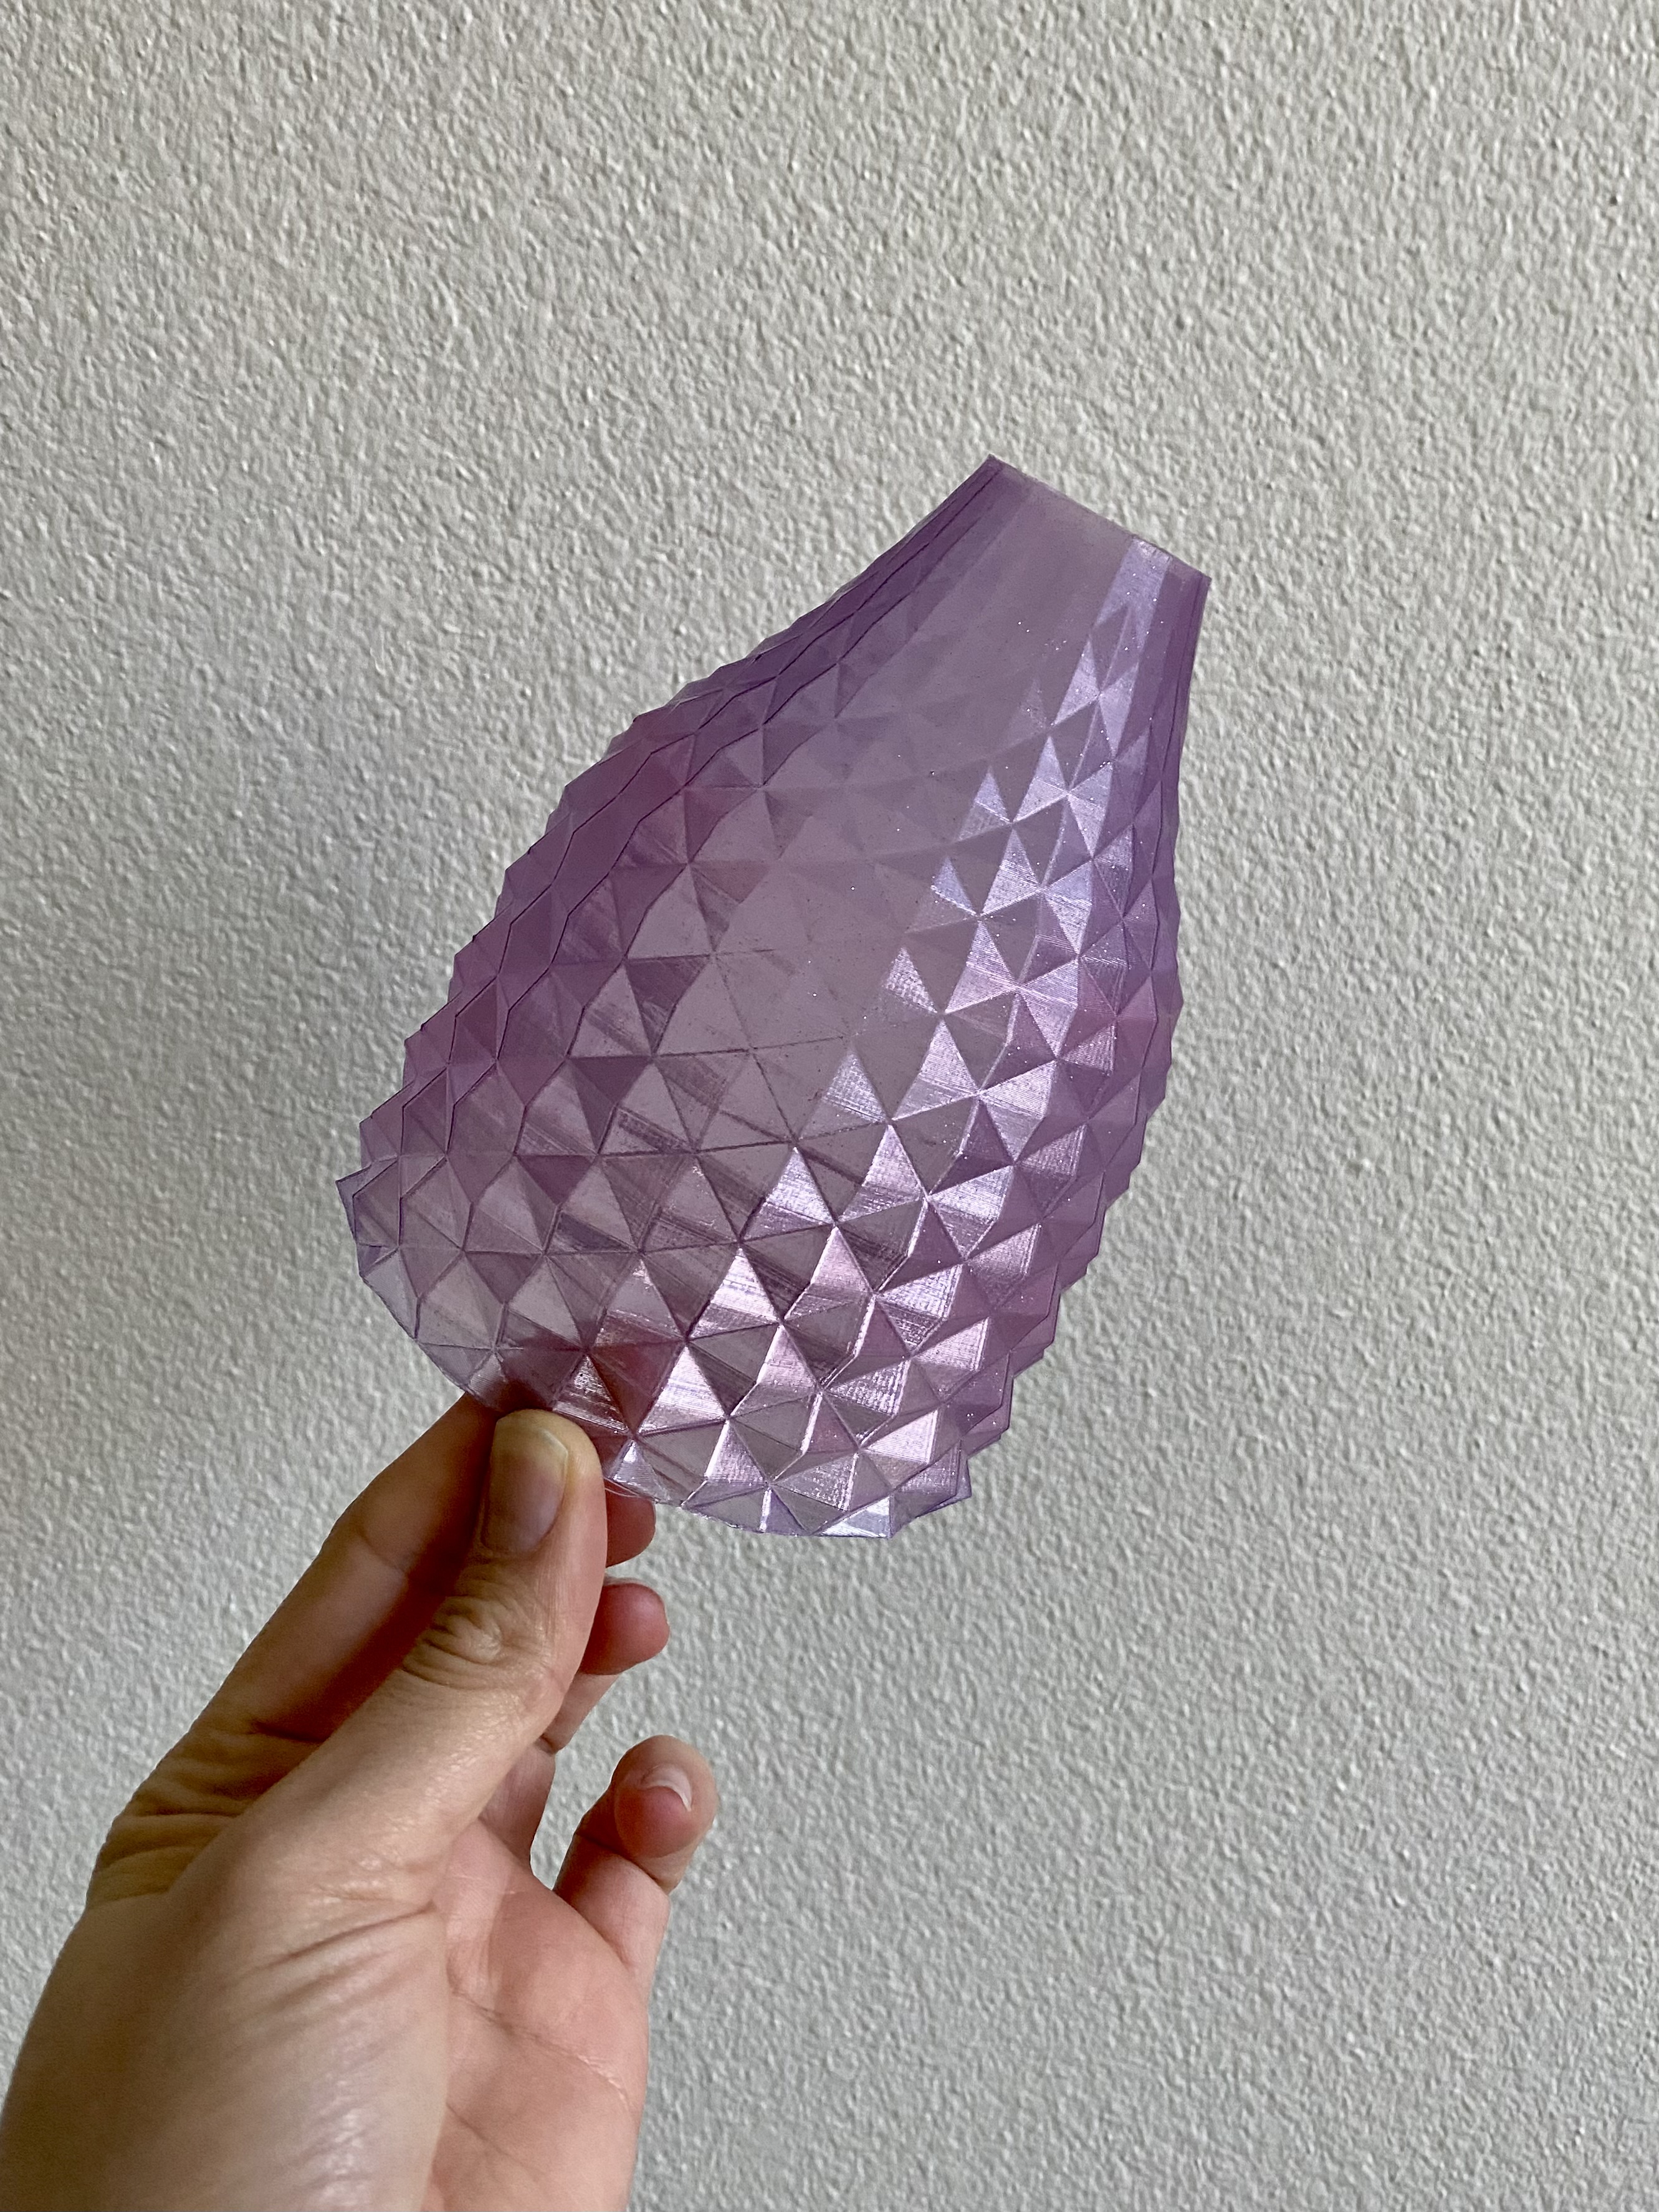
I really love this class, but I also probably spend too much time working on my projects because I enjoy doing it so much. It took a lot of trial and error to get my final lamp to print (and hours, and hours of printer calibration). But I got a pendant lamp shade that I am super stoked about.
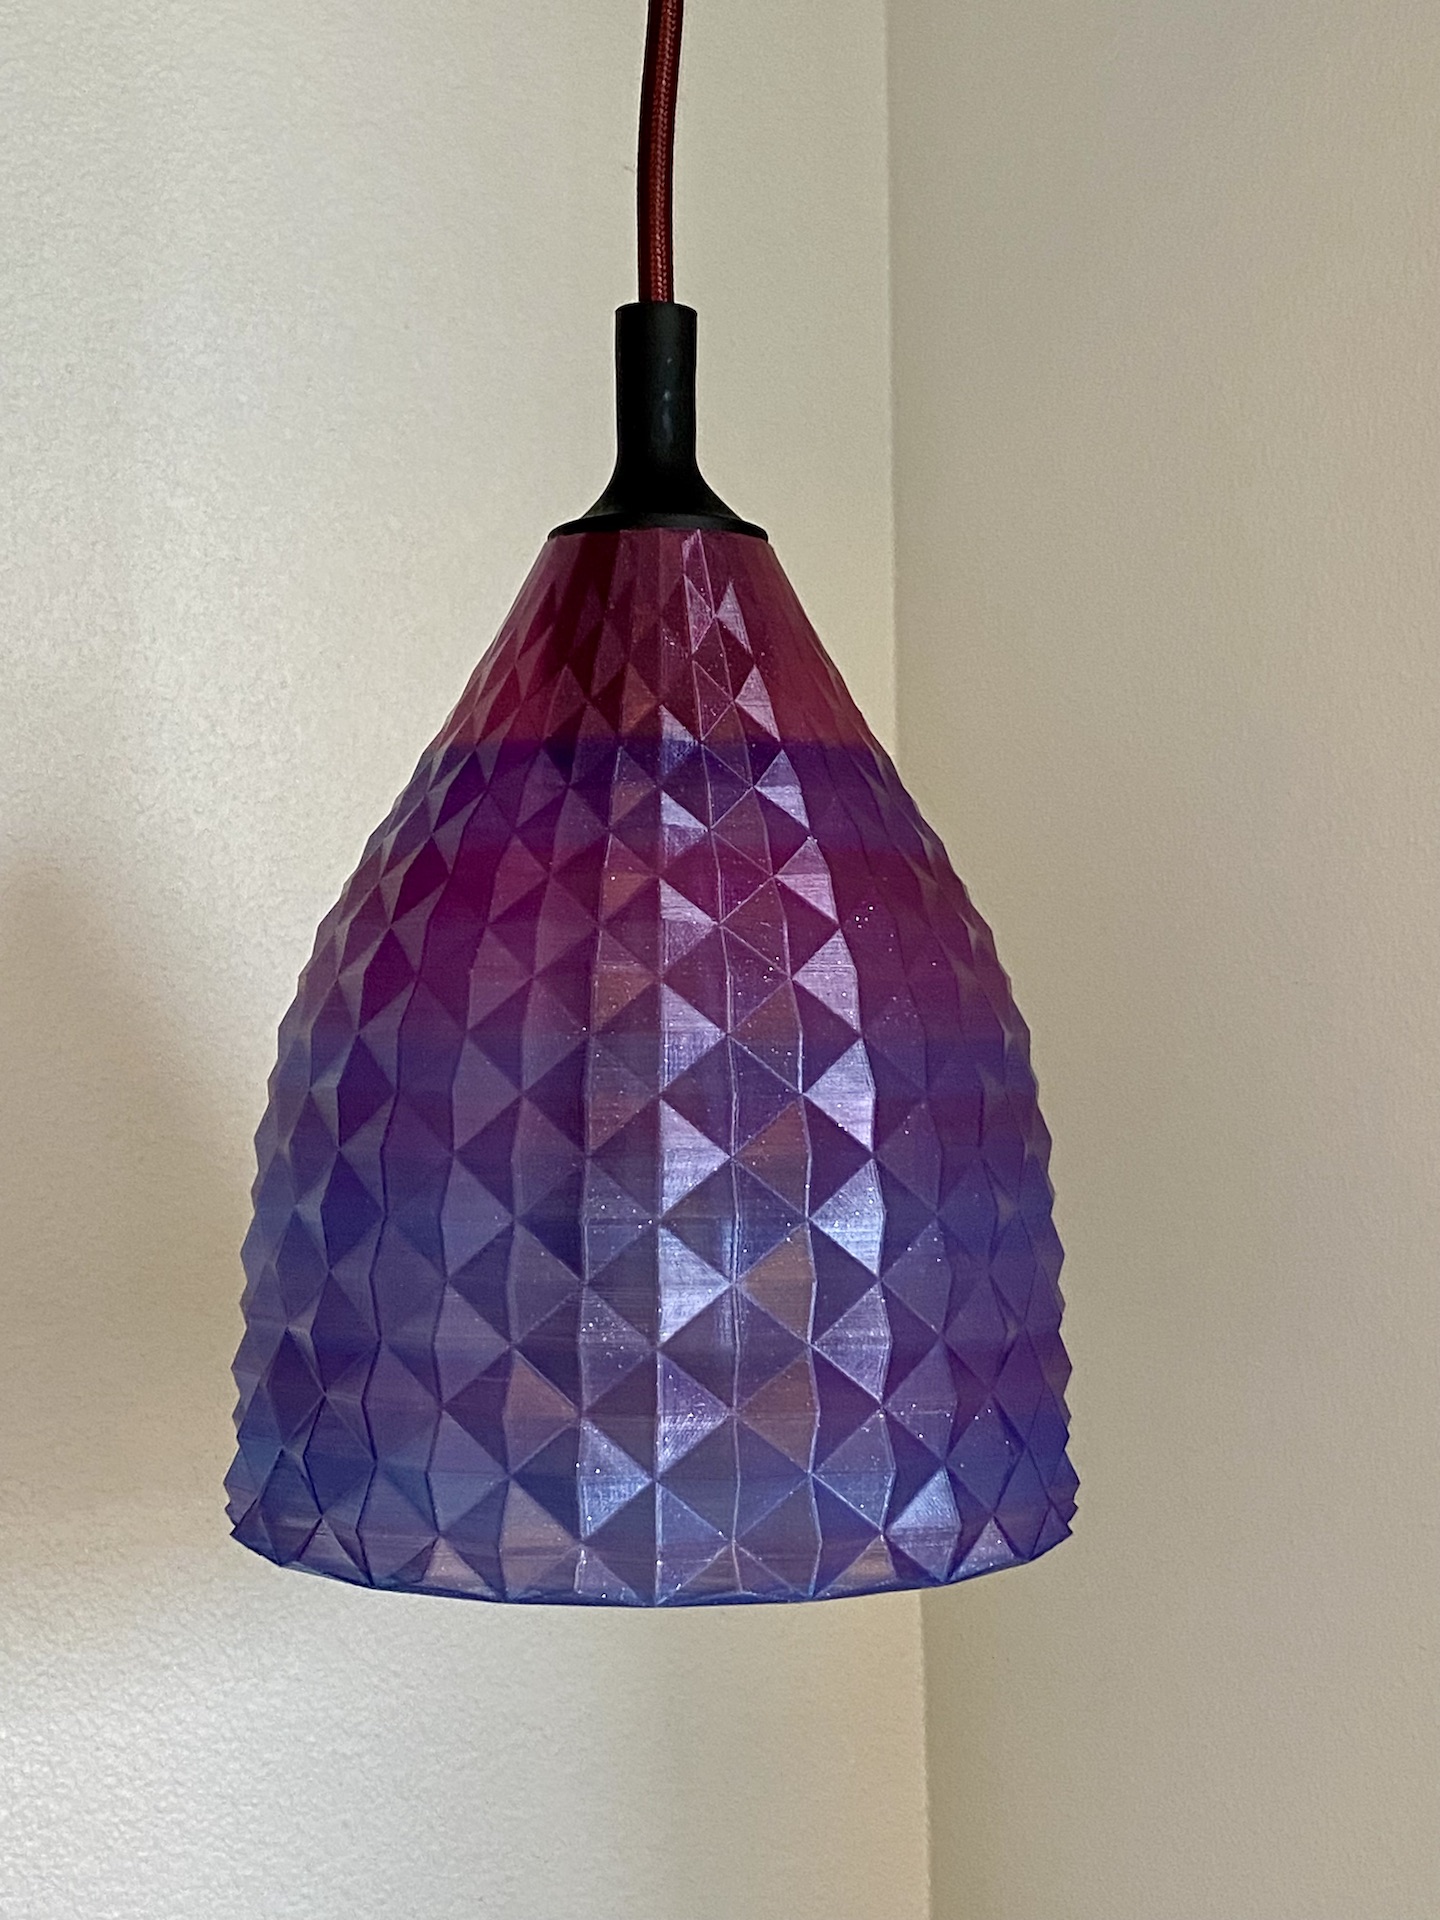

The final lamp print took about 9.5 hours
Process
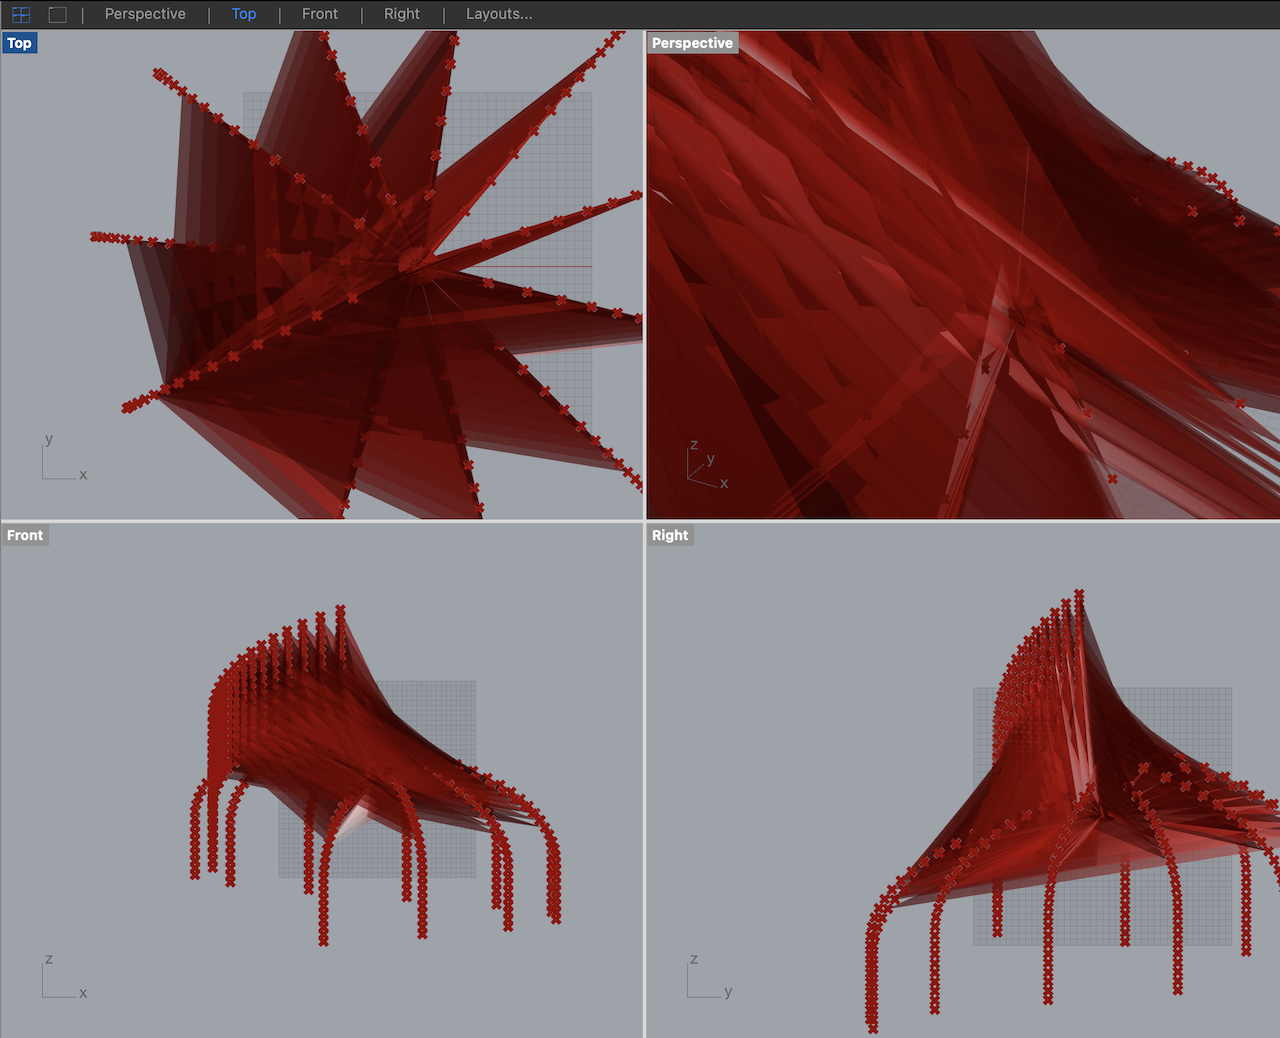
Grasshopper Modeling
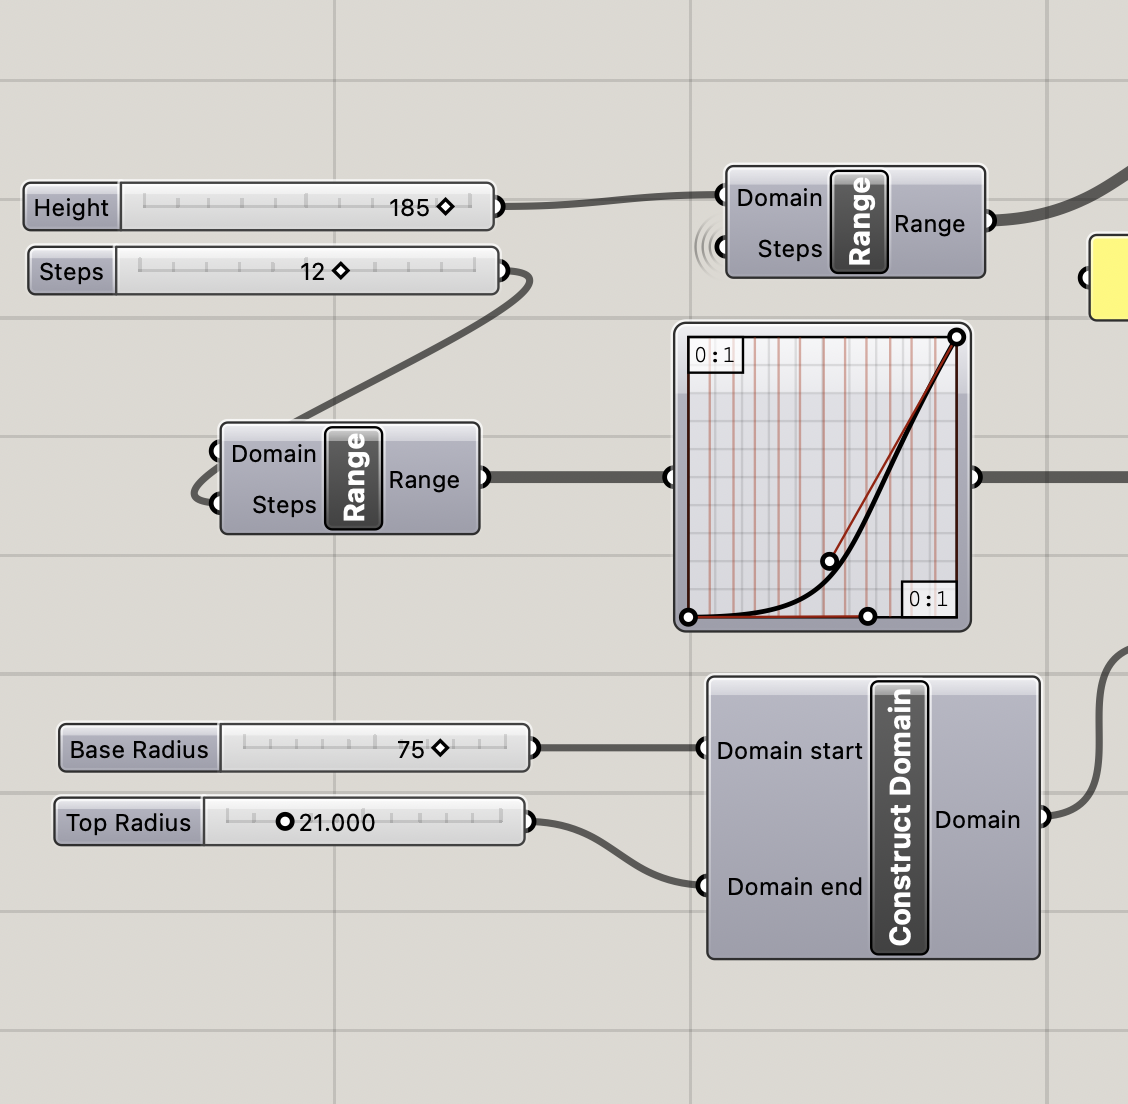
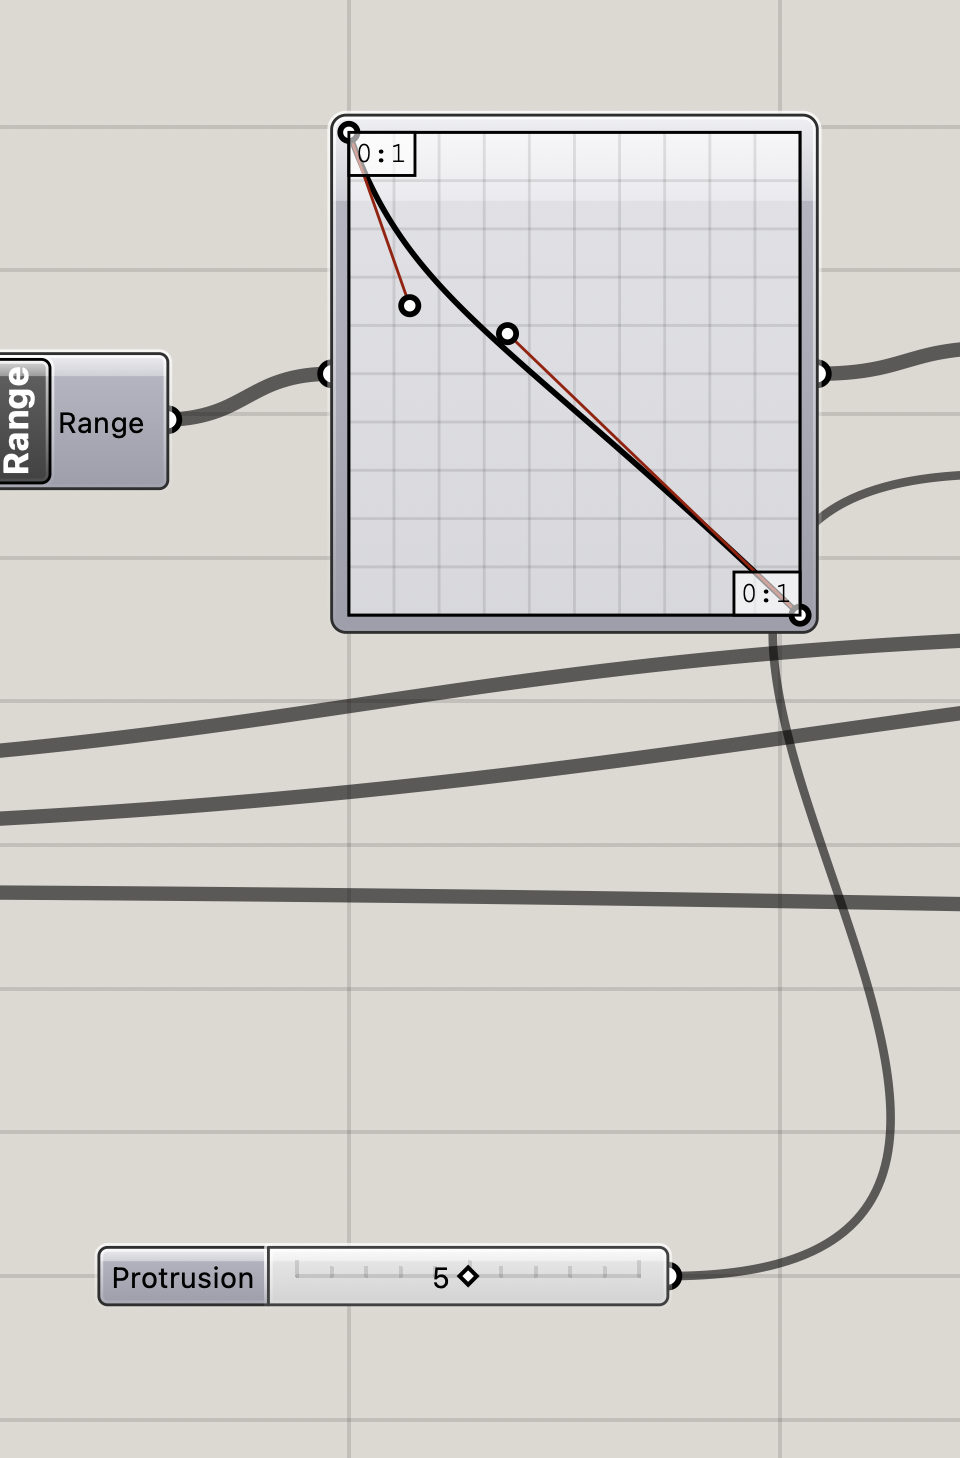
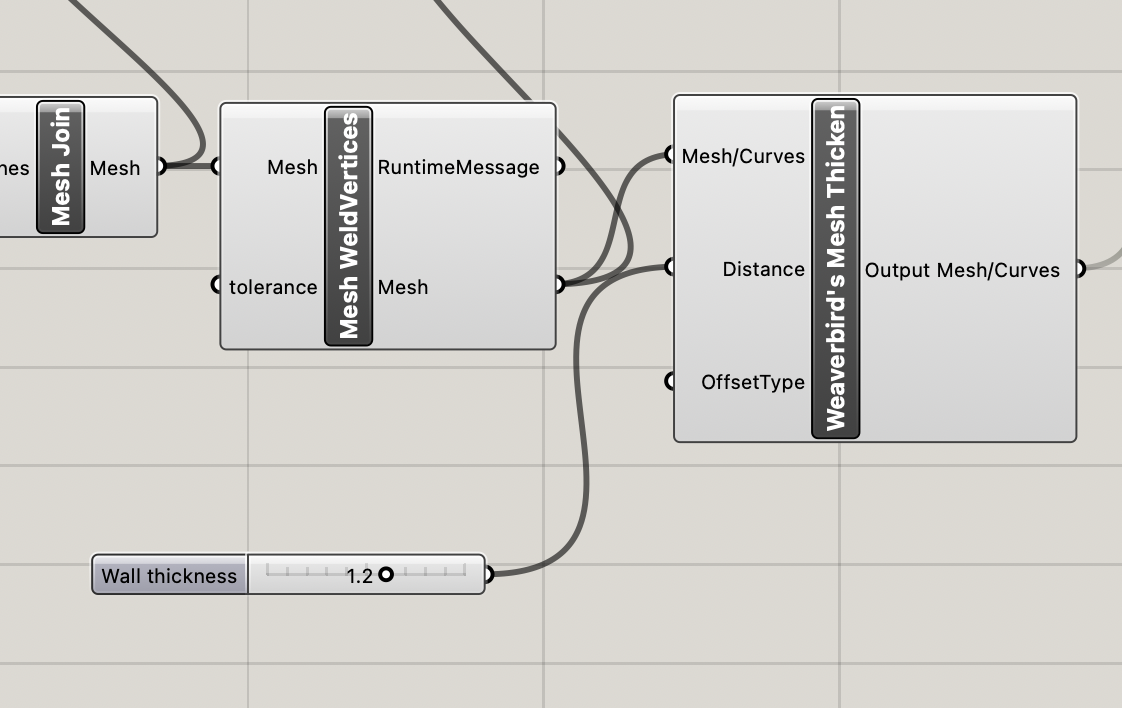
After the feedback from class last week, I decided to make sure that I didn’t spend too much time modeling. Thanks to a video Clark shared, I was able to find a tutorial that was close to one of my designs (it’s linked below in the resources section). I decided to follow that tutorial, making slight modifications to the grasshopper model so that it looked more like my design. Specifically, I removed some nodes that were smoothing the diamond pattern, since I wanted to have a design with crisp sharp lines.
The final output lets you modify the height of the lamp, size of the lamp openings at the top and bottom, the curve of the lamp shape, the frequence of crossing lines (to create the diamond), the protrusion of the diamonds, and the wall thickness.
Test prints
Becasue this is a big shape, it is a long print. I didn’t want to get all the way through the print to find that something didn’t work. I first did a scaled test print to make sure that my printer was well calibrated and it could successfully print the lamp shade form.
This print took about 2.5 hours.
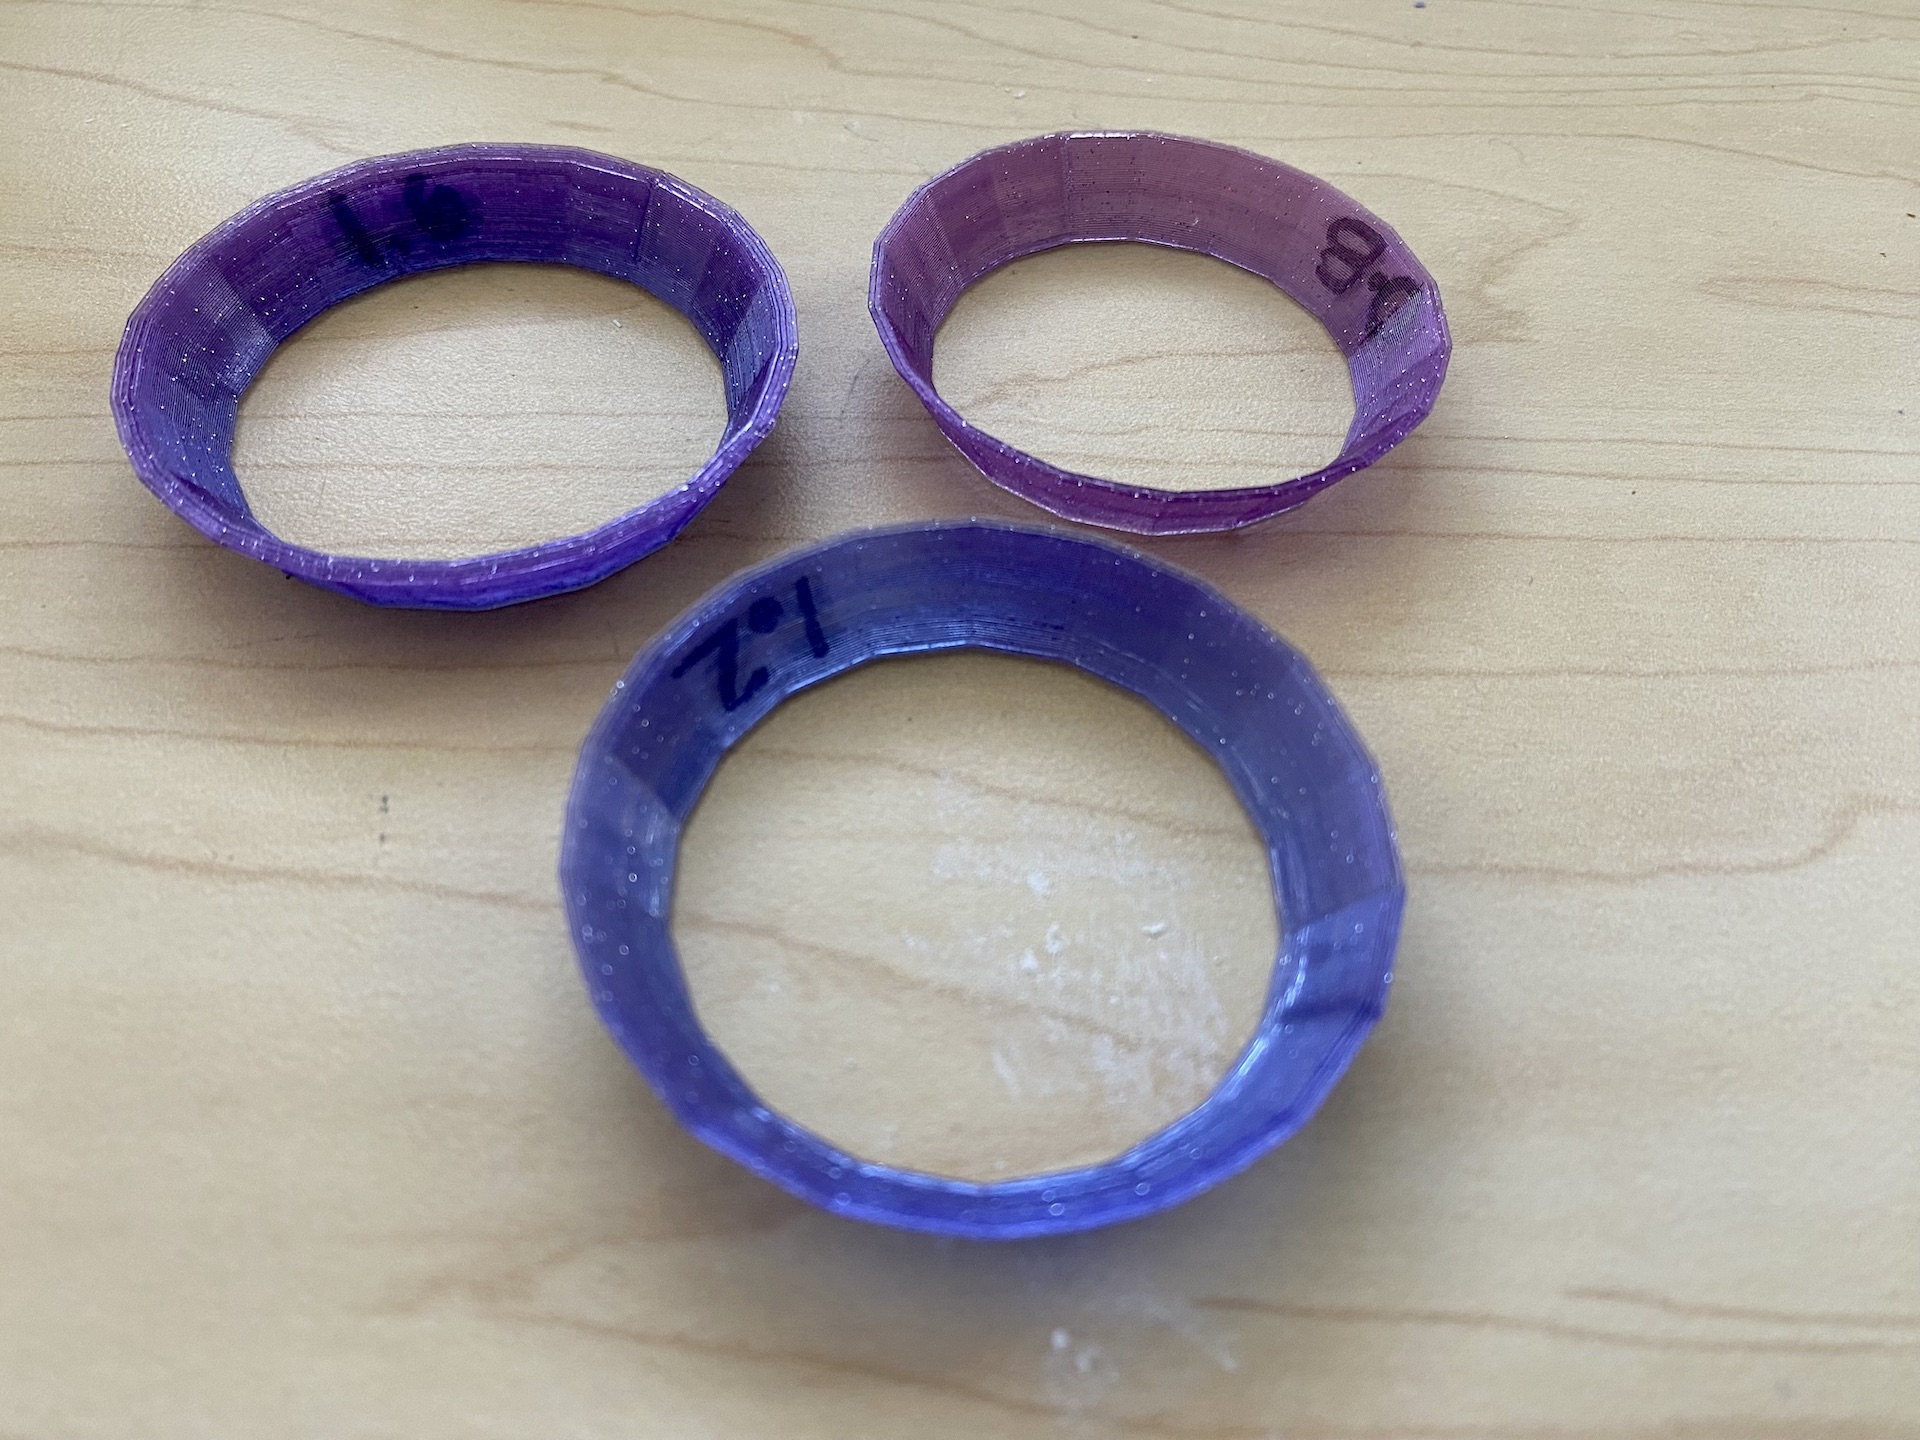
I also printed a few different collars to test the right wall thickness and opening size to fit around my lamp wiring.
Week 1: Design
I definitely spent too much time playing with meshes this week, and not enough time working on my lighting design. Here’s what I’ve got so far.
Inspiration
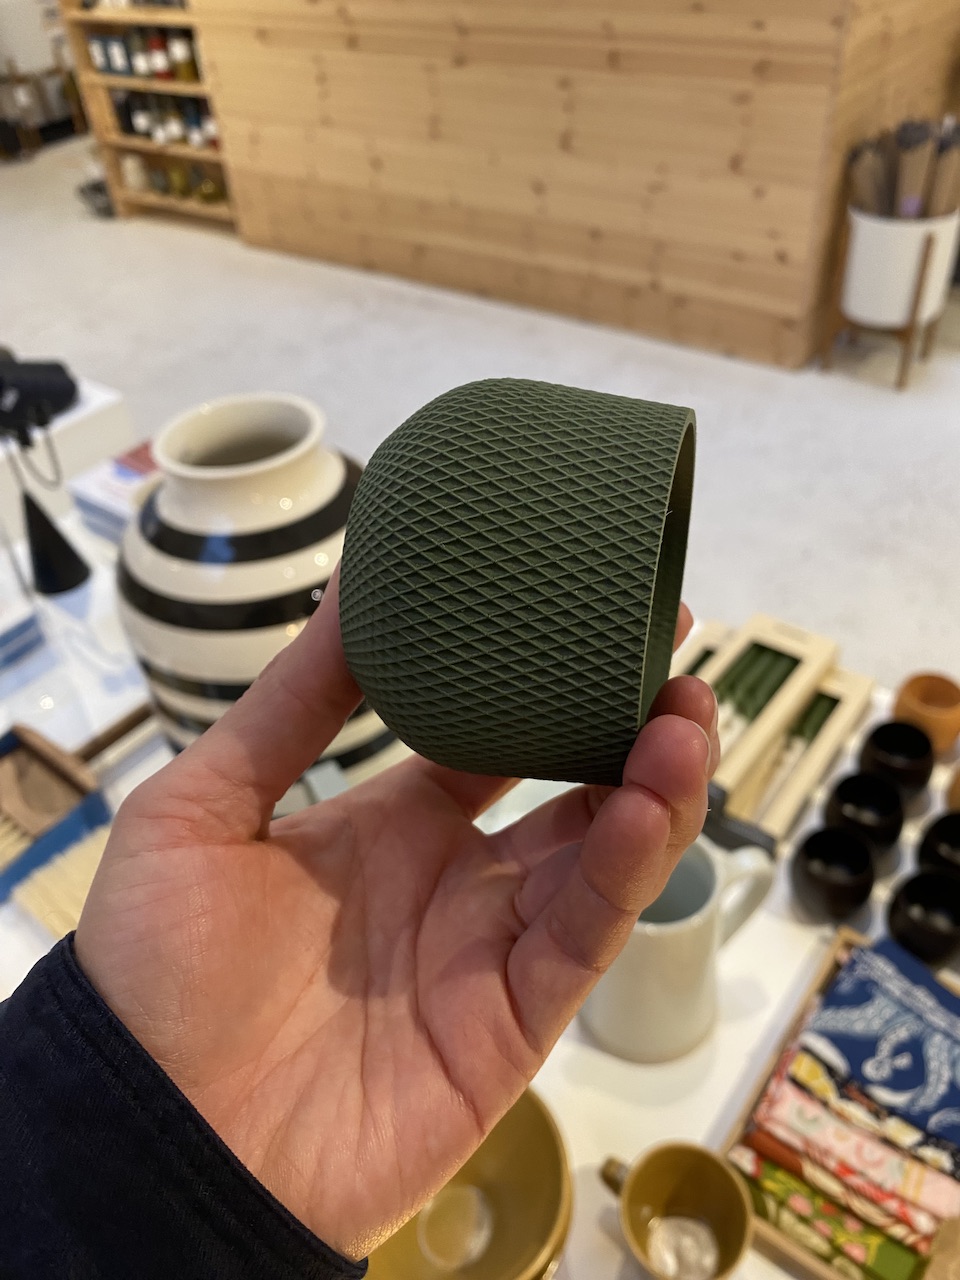
Akshay and I were wondering around Ballard and went into Woodland Mod. Amongst the many beautiful things in that shop, they had a collection of small 3D printed vases by a company called Minimum Design. What I liked about these vases is that they used simple patterns with crisp lines to create beautiful patterned forms. I decided to use this as a jumping off point for my light design.
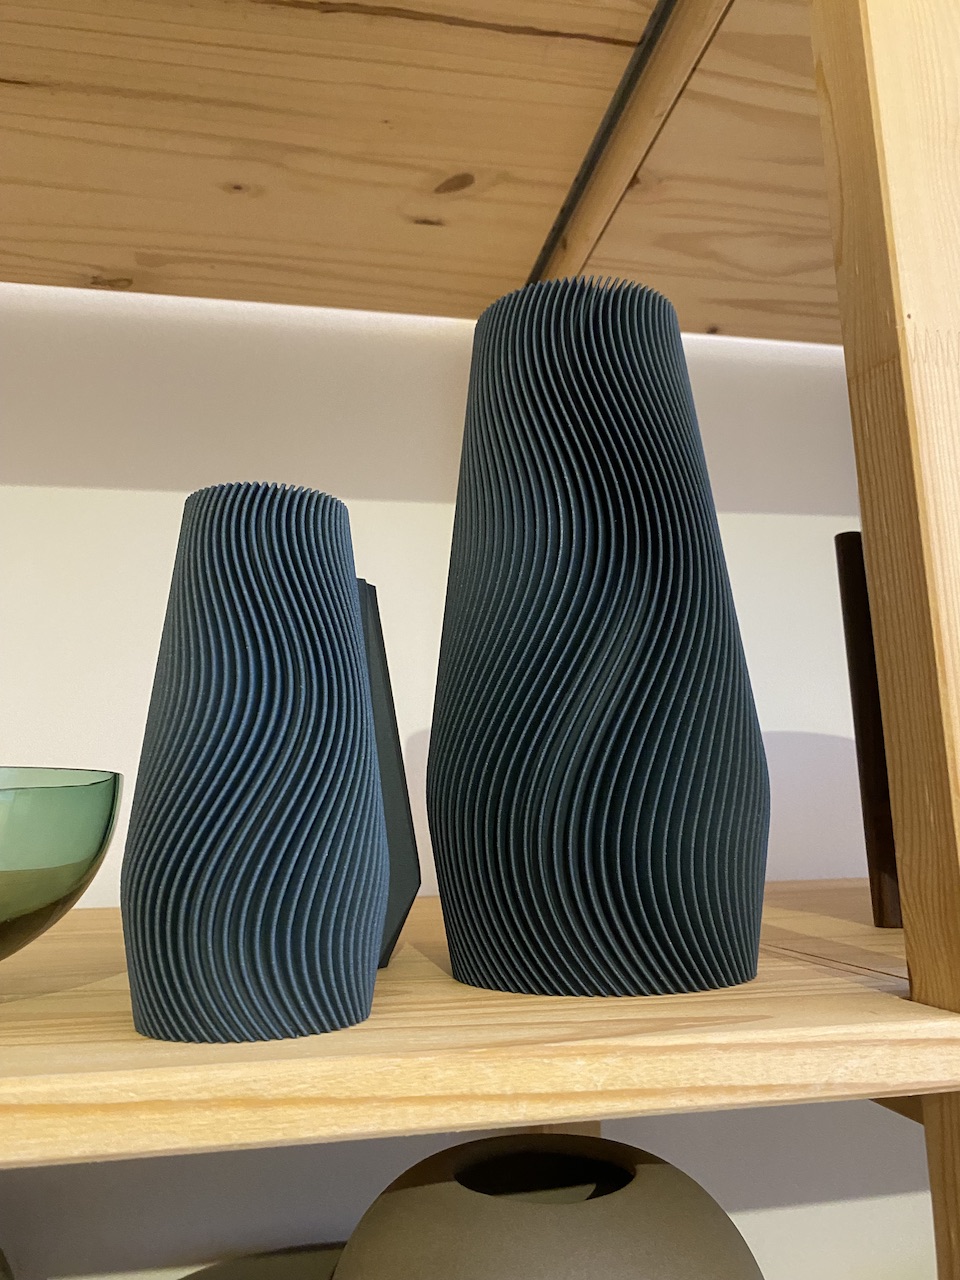

Not related to lights, but soemthing that intrigued me about these 3D printed objects is that they claim to be made of 30% wood and 70% bioplastic. My one complaint about 3D printing so far has been the amount of plastic waste it generates. I’ve found some 3D printing filaments that claim to be biodegradable, but none that looked like they would produce the print quality of these vases. I’d really like to know what filament they are using!
Sketches
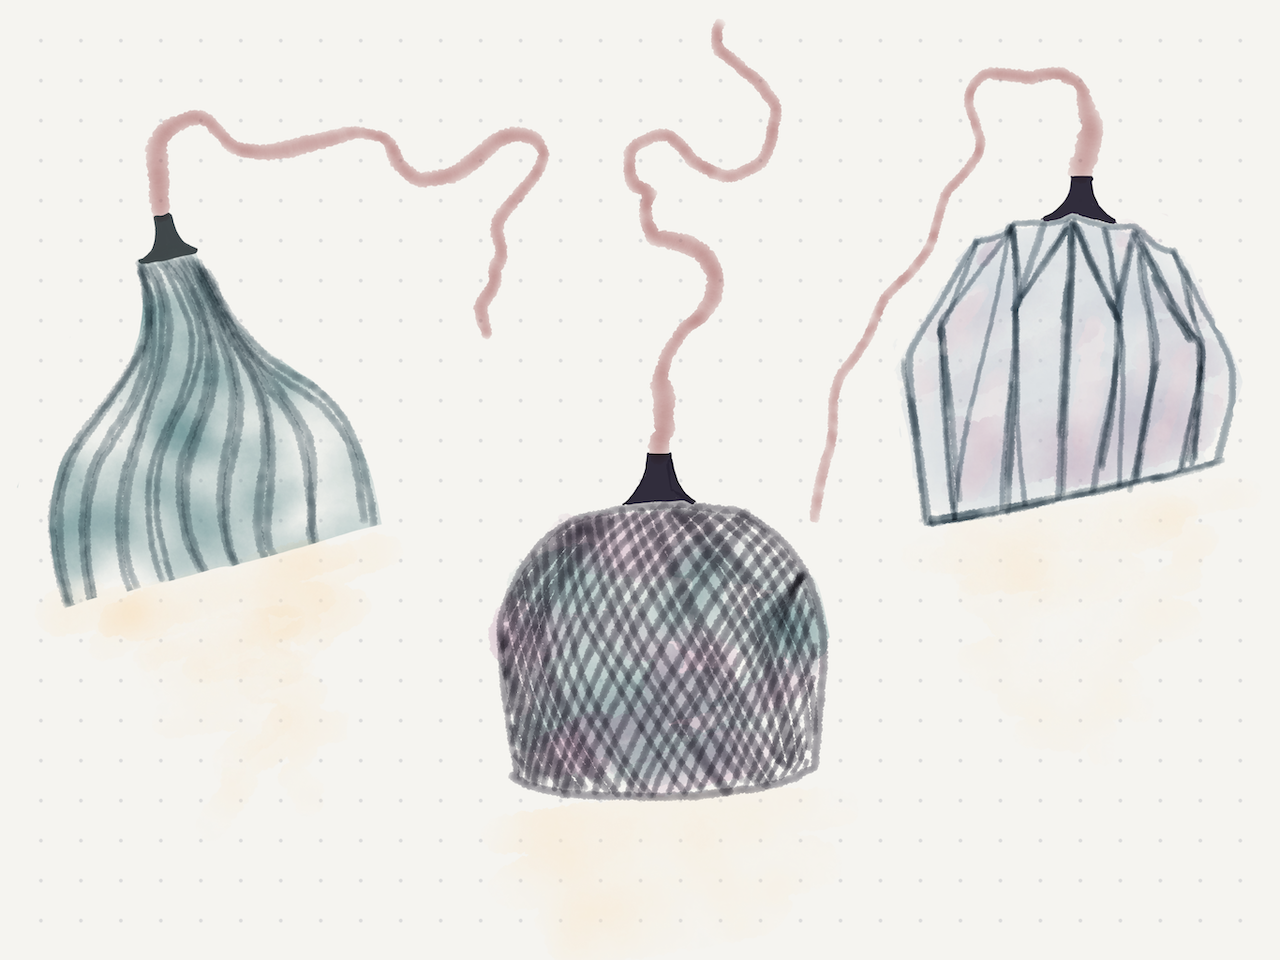
Here are a few preliminary sketches of what lamb designs inspired by the Minimum Design vases may look like.
Electrical Components
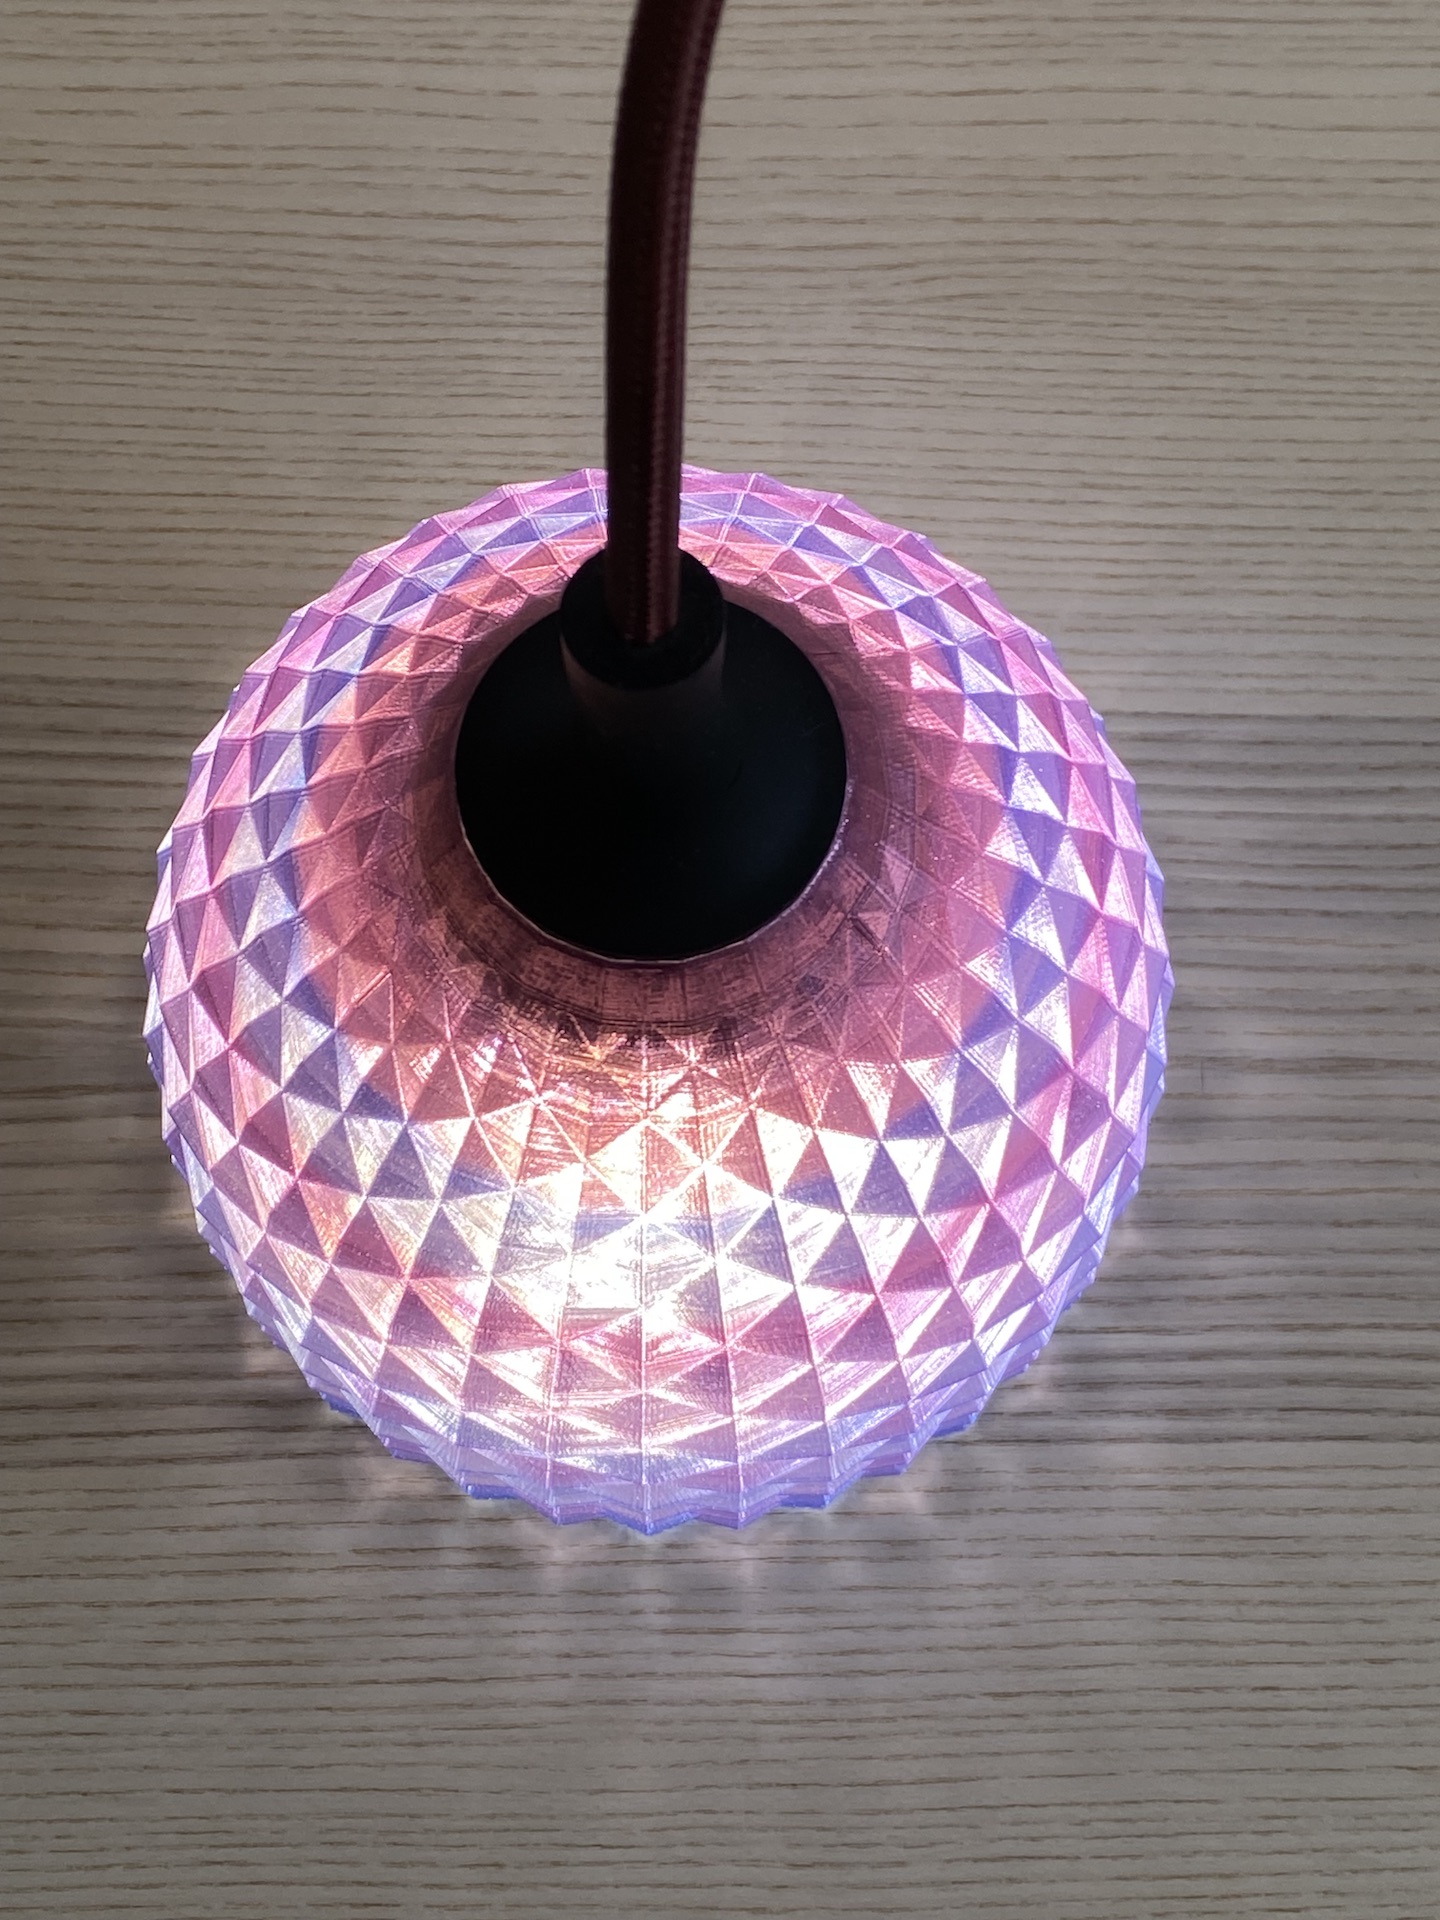
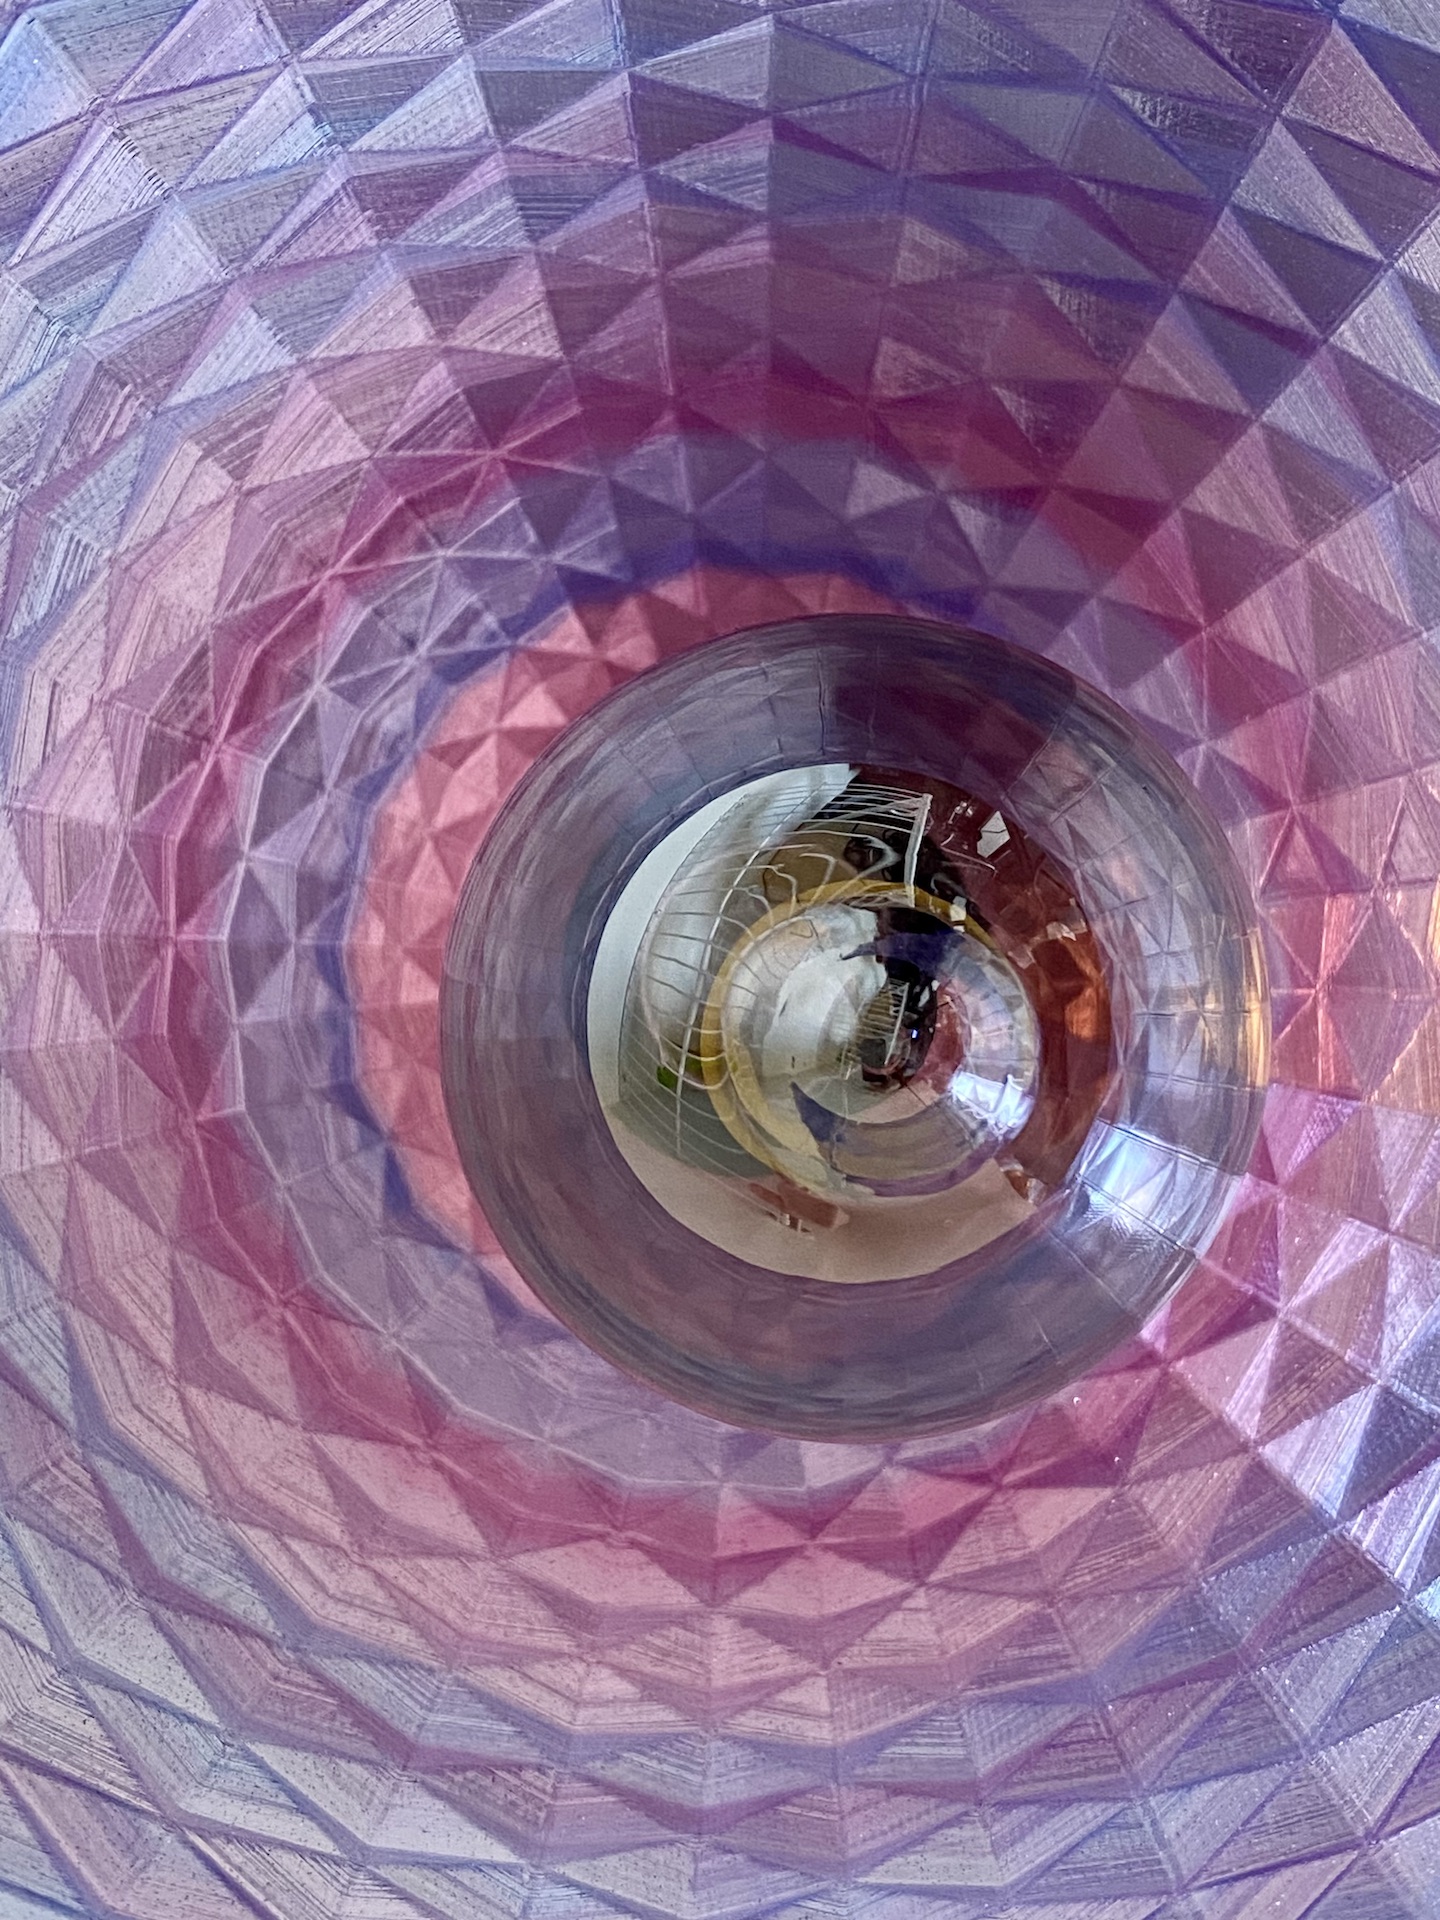
These are the electrical components that I am using for the light fixture. My plan is that the lamp shade design will have an opening at the top that is wide enough to fit the plug through it but narrow enough that the it can rest comfortably on the slightly tapered silicone edge of the lightbulb housing.
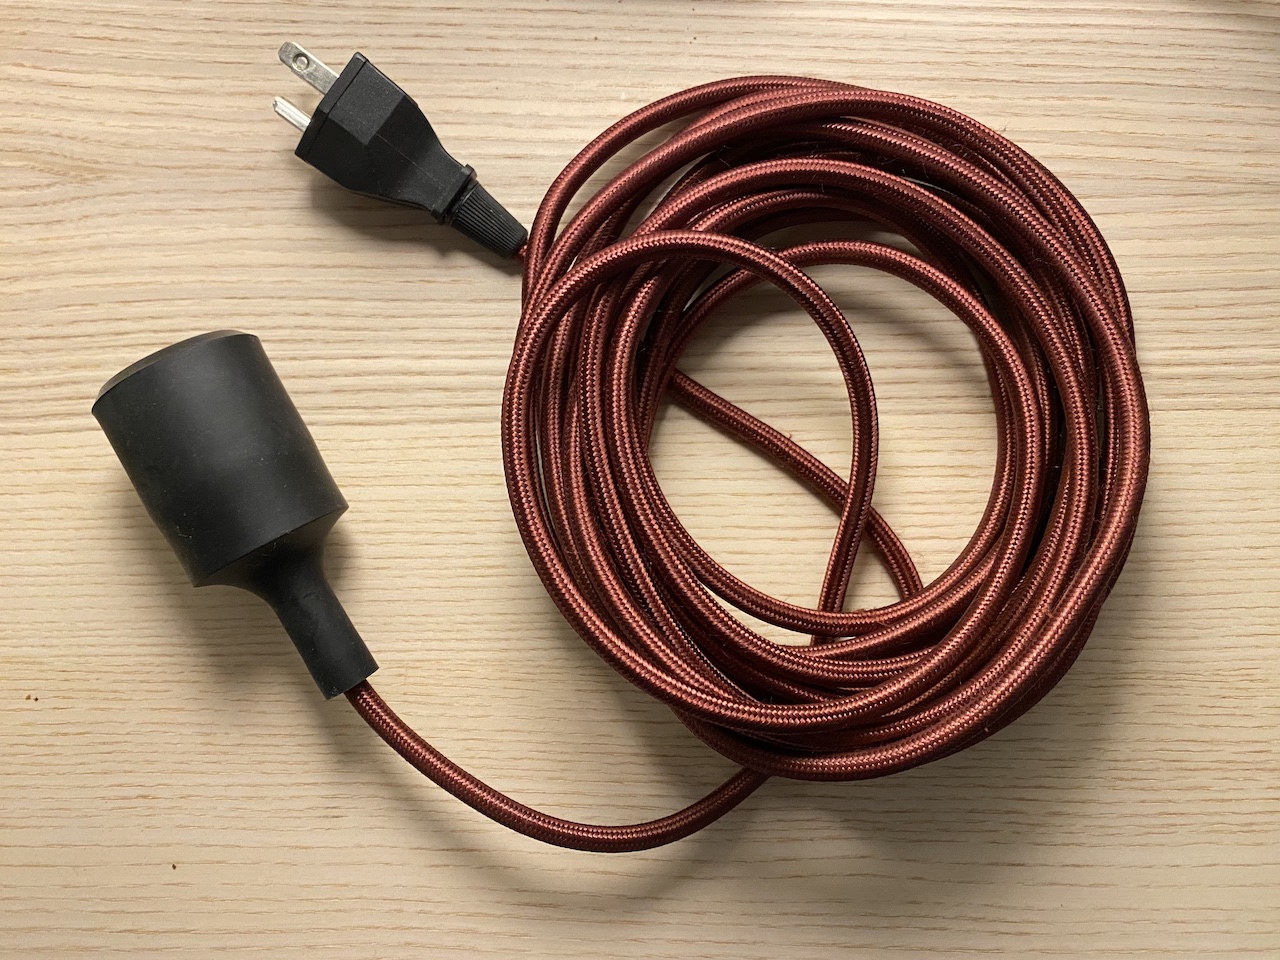
The widest part of the plug measures 31.31 mm
The bulb housing is 15.35 mm at the top and 44.60 mm at its widest point. The bulb housing (without a bulb) measures 95.04 mm in length, of which about 40.00 mm should protrude from the top of the lamp shade.
Grasshopper Explorations
I’ve started playing around in grasshopper, but all I’ve maganged to make is a mess. I’ve got some modeling ahead of me this week.
Acknowledgements
Thanks to Clark for posting this youtube video in discord. Another video by the same person helped me out a ton for modeling my lamp!
Resources
I followed this youtube video for making a diamond pattern lampshade to make my grasshopper model.
Diamond Lampshade grasshopper file
Casting and Mold Making!
This week also included starting casting and mold making. Check out my progress on that assignment here!