A3: Getting Started with 3D Printing
Assembly
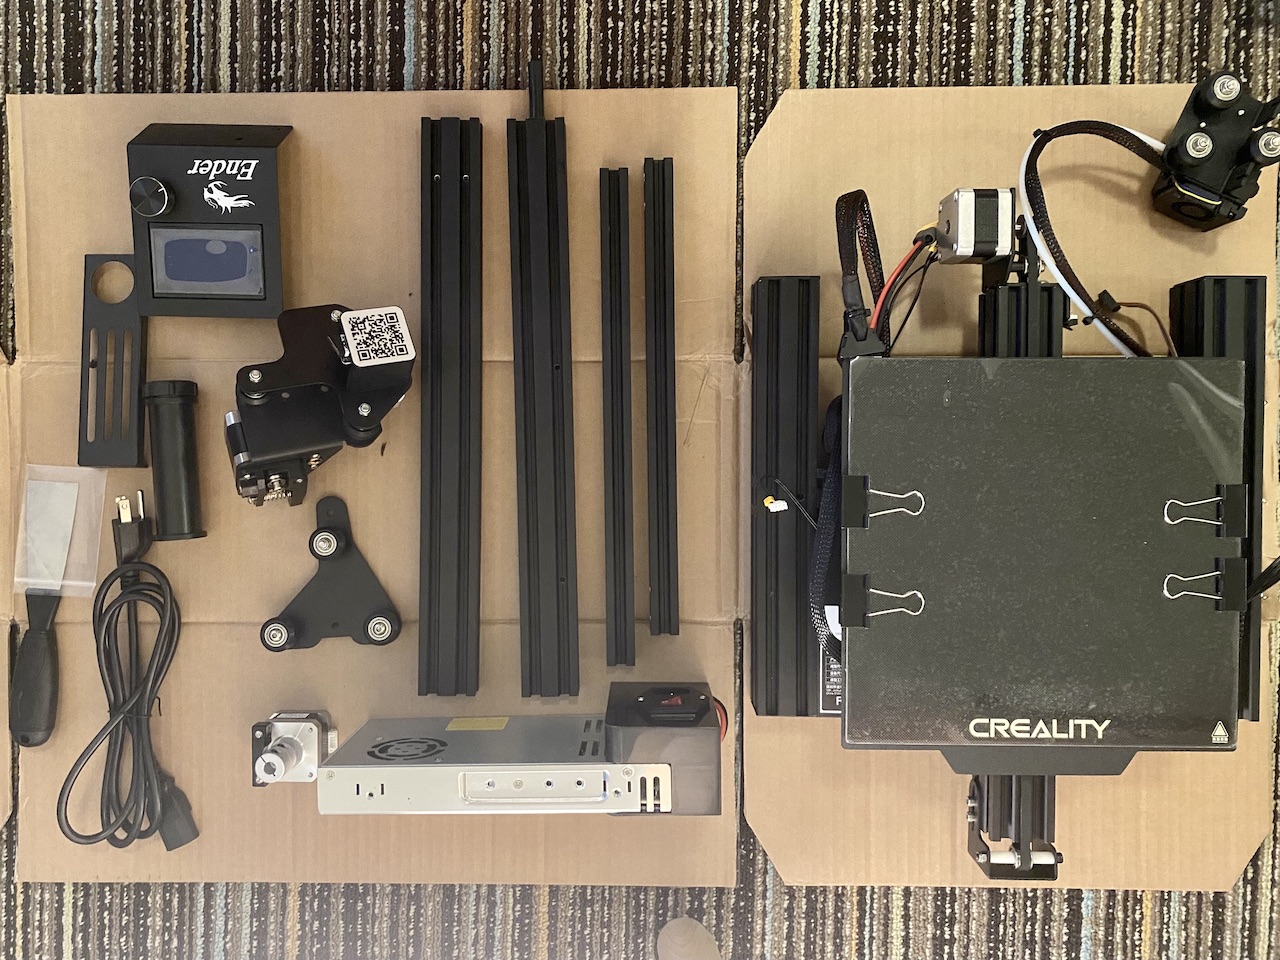
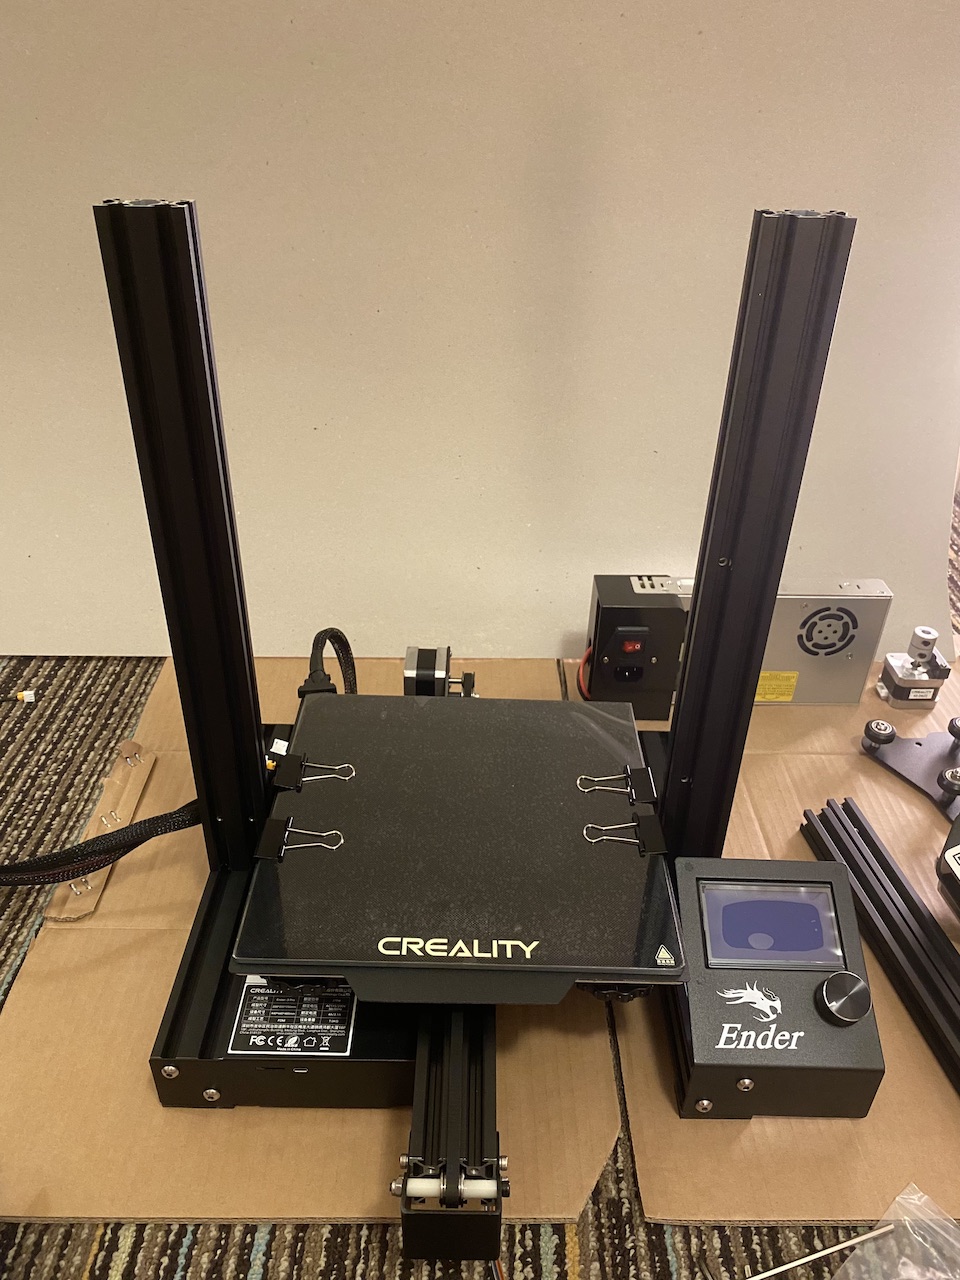
Assembling my Ender 3 Pro printer took about 2.5 hours. The assembly process was straightforward. The only step that took some troubleshooting was connecting the display since there are three identical ports, and I found the instructions for this part unclear. Luckily, this is a very popular 3D printer, so troubleshooting information is easy to find online. I’m still amazed at how inexpensive 3D printers have become!
Here are some photos of the assembly process.
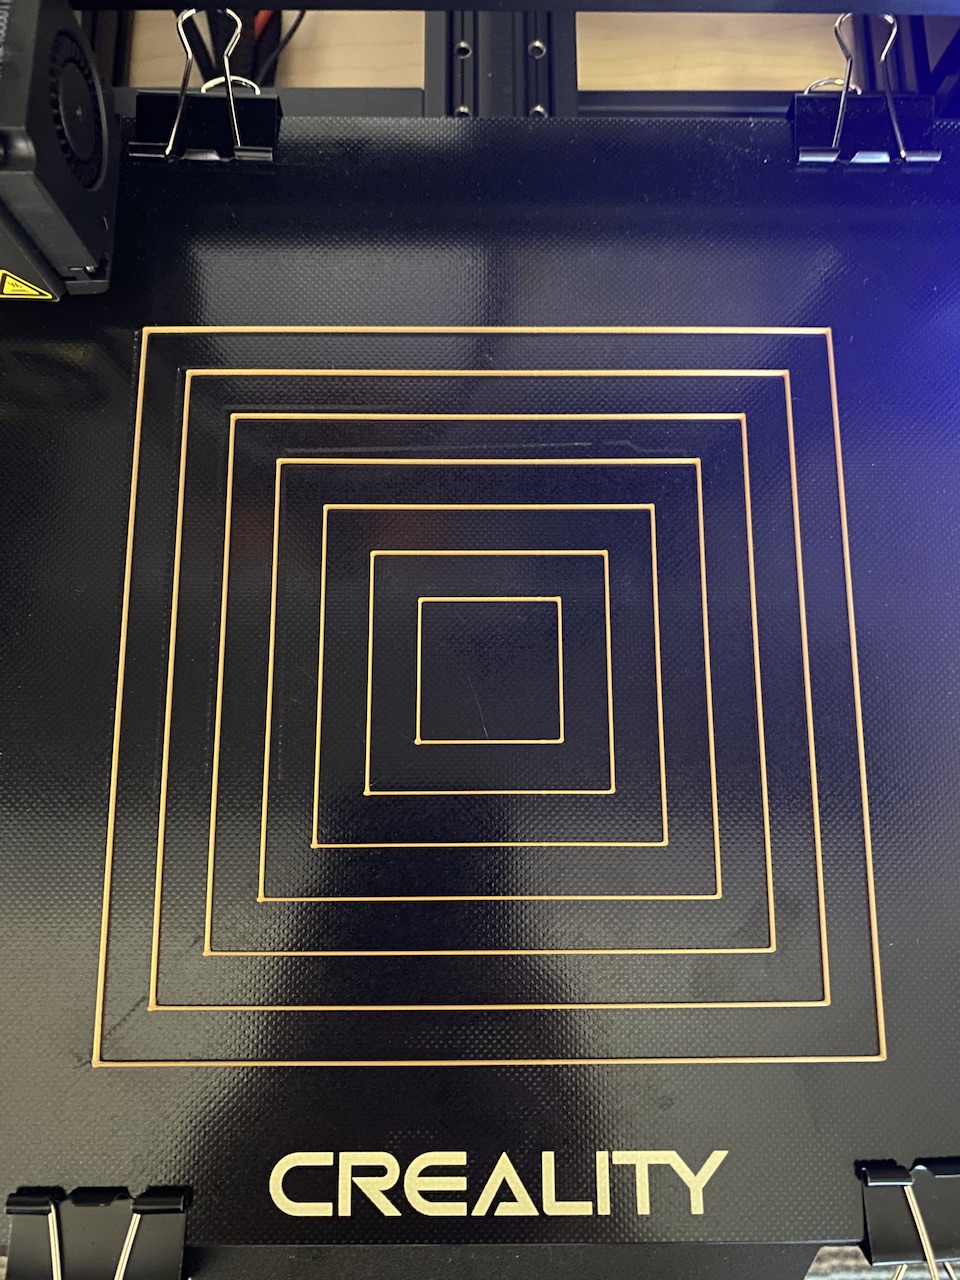
Calibration
I spent about 1.5 hours calibrating my printer using the bed leveling file and the corresponding video from Filament Friday. I struggled to get the back left corner of the bed to calibrate properly because the cable attachment in that corner interfered with the tensioning spring. After a few tries, I was able to level the bed and get an even and well-adhered test print.
Test Prints
Cubes! Tubes! Cylinders!
For my test prints, I used two different brands of HTPLA filament.
Critical Mass Gold is a Fusion Filament that I purchased from The 8. Most prints using this filament were printed with an extrusion temp of 230ºc and a bed temp of 60ºc.
Nebula Multicolor is a filament by Protopasta that I got from Amazon. The prints using this filament were printed with an extrusion temp of 220ºc and a bed temp of 55ºc. I found the labeling on the Protopasta filament to be more helpful since they provided an extrusion and bed temp range rather than just the upper limit provided on the Fusion Filament package.
I had slightly better print results and fewer adhesion issues with the Protopasta filament. The Protopasta filament was about twice the price of the Fusion Filament, so the price difference may be related to the quality of the HTPLA.
Cubes
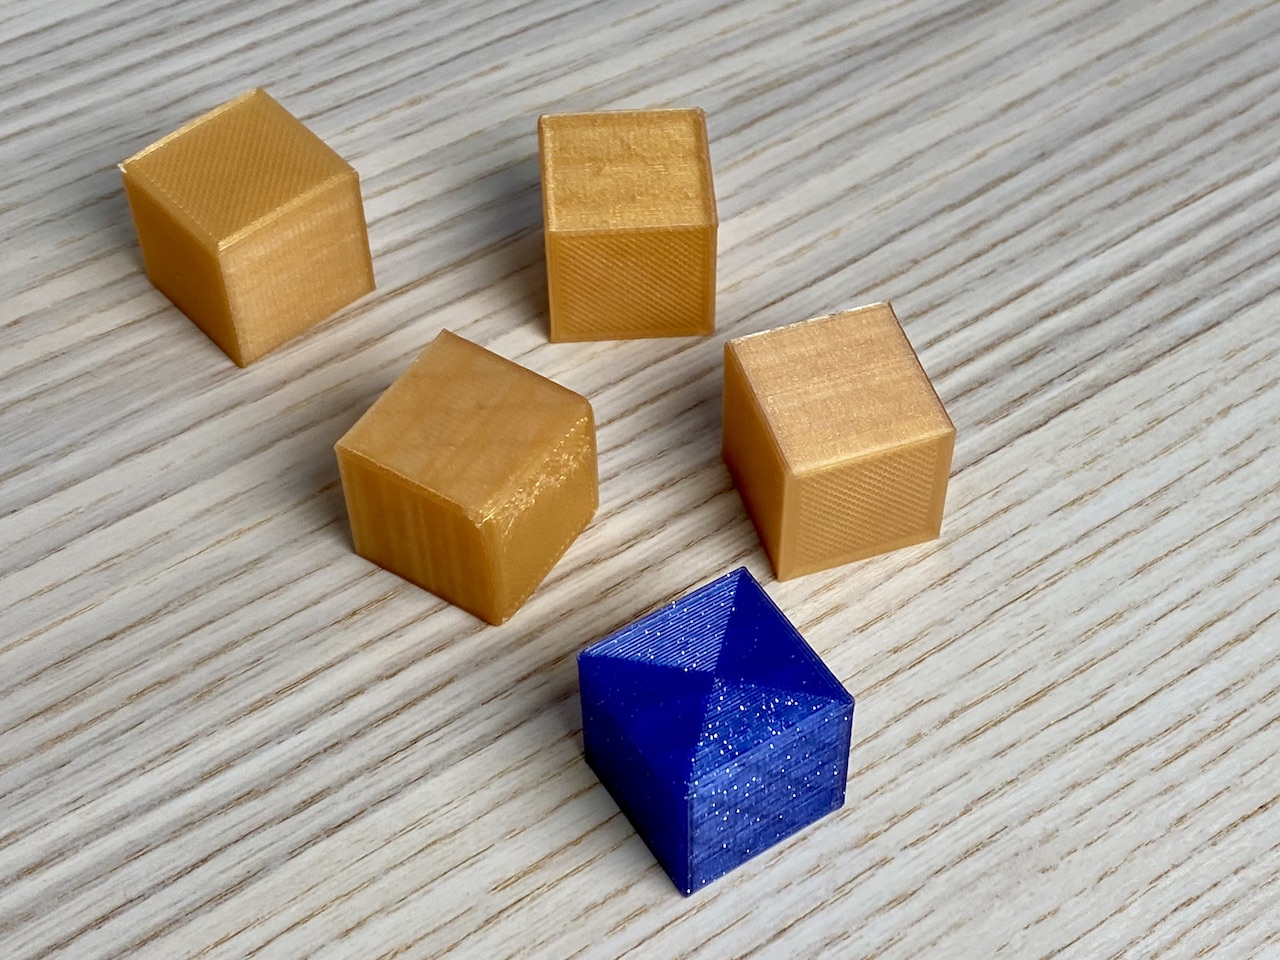
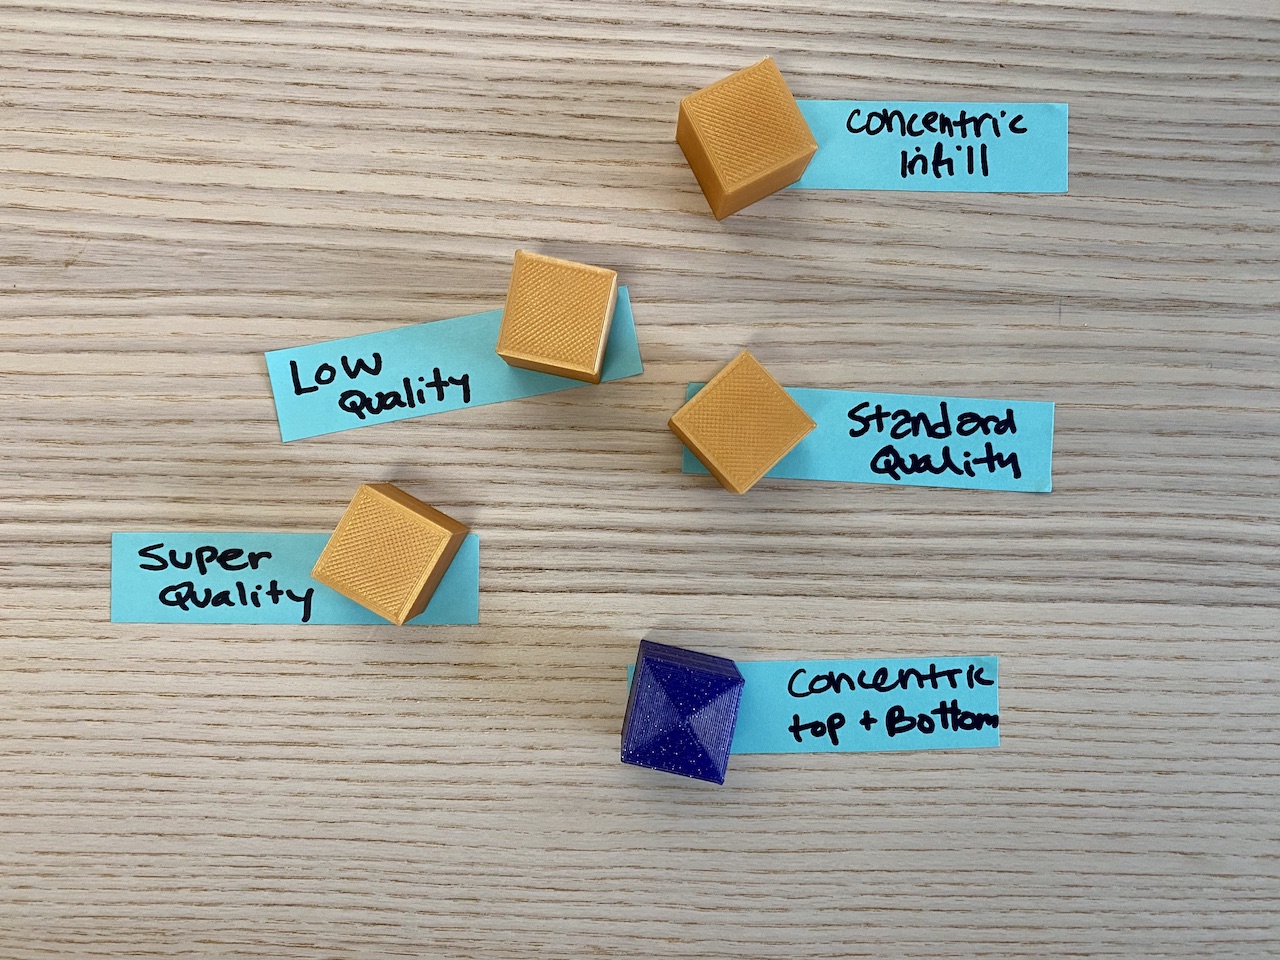
- Low quality cube
- Print time: 20 min
- Print measurements: 19.5 x 19.6 x 20.00 mm
- Weight: 3.1 g
- Standard quality cube
- Print time: 28 min
- Print measurements: 19.75 x 19.51 x 19.92 mm
- Weight: 3.0 g
- Notes: I had some adhesion issues in the back left corner of this cube. It raised slightly during the print, but the print was able to finish without any major print issues. There are some imperfections in the bottom fill and the back corner is raised and rounded.
- Super quality cube
- Print time: 51 min
- Print measurements: 19.67 x 19.51 x 19.91 mm
- Weight: 3.6 g
- Notes: The adhesion issues I experienced with the standard quality cube were worse with the super quality. The cube failed to adhere to the bed, and I was getting plastic spaghetti. At this point, I realized that I had been using the default heat settings instead of customizing them for the specific HTPLA I was using. Increasing the extrusion temperature and bed temperature and re-leveling the bed resolved my issues.
- Standard quality cube with concentric top & bottom
- Print time: 29 min
- Print measurements: 19.92 x 19.67 x 20.05 mm
- Weight: 3.5 g
- Standard quality cube with concentric fill
- Print time: 26 min
- Print measurements: 19.77 x 19.52 x 19.87 mm
- Weight: 2.7 g
- Notes: This print was a mistake. I set the print for a concentric fill rather than a concentric top and bottom. I figured that I might as well include the results!
Tubes
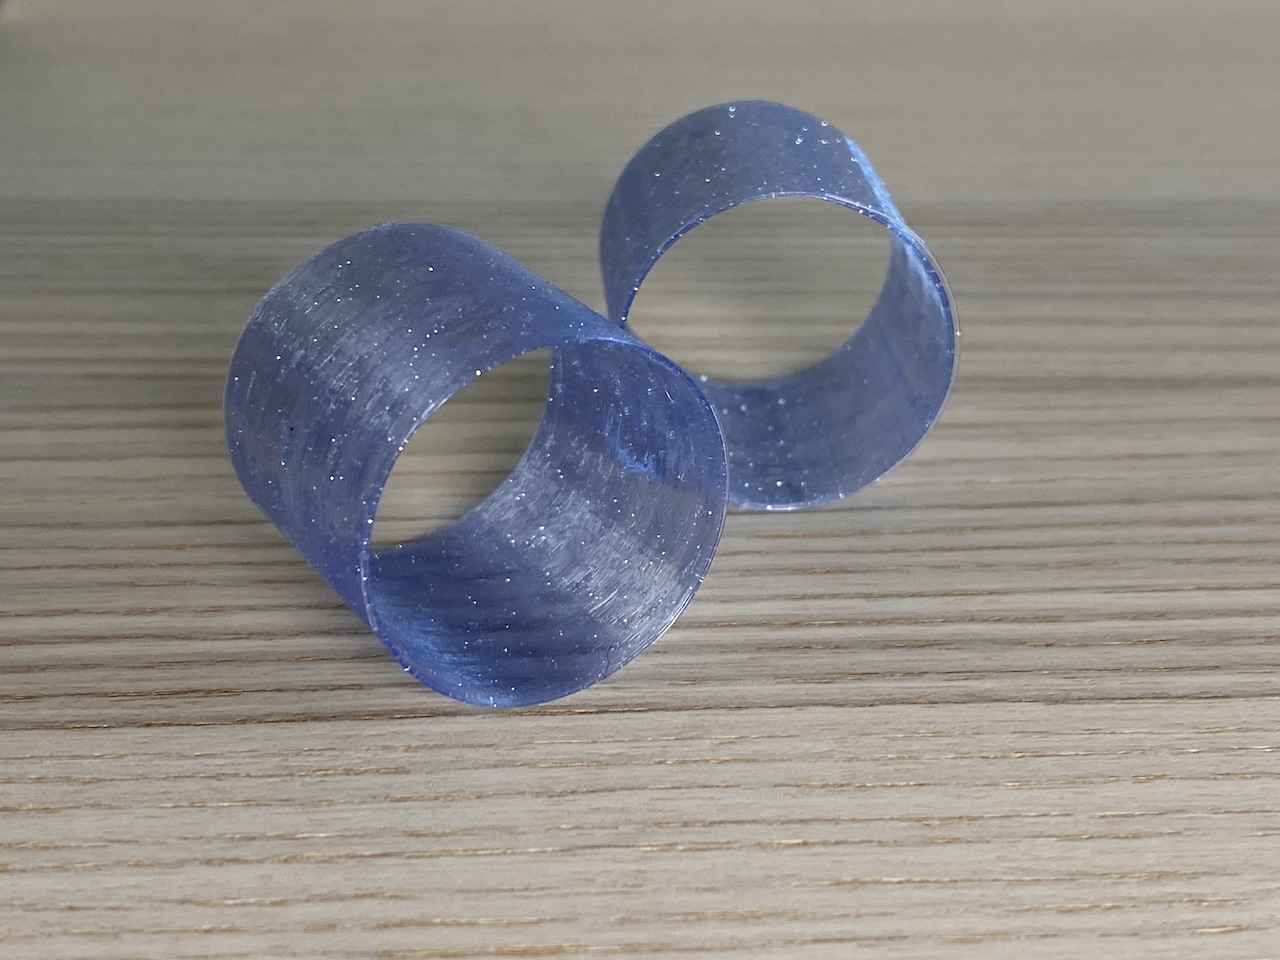
- Single extrusion
- Print time: 28 min
- Print measurements: height 29.82 mm, wall thickness 0.41 mm
- Weight: < 0.1 g
- Double extrusion and random z-seam
- Print time: 31 min
- Print measurements: height 28.83 mm, wall thickness 0.44 - 0.68 mm
- Weight: < 0.1 g
- Notes: I’m not sure if I did this one correctly. I tried to get a double extrusion by changing the wall thickness in Cura to .8mm with the wall thickness set to 2. I wasn’t entirely clear about what the instructions in the assignment were asking for.
Cylinders
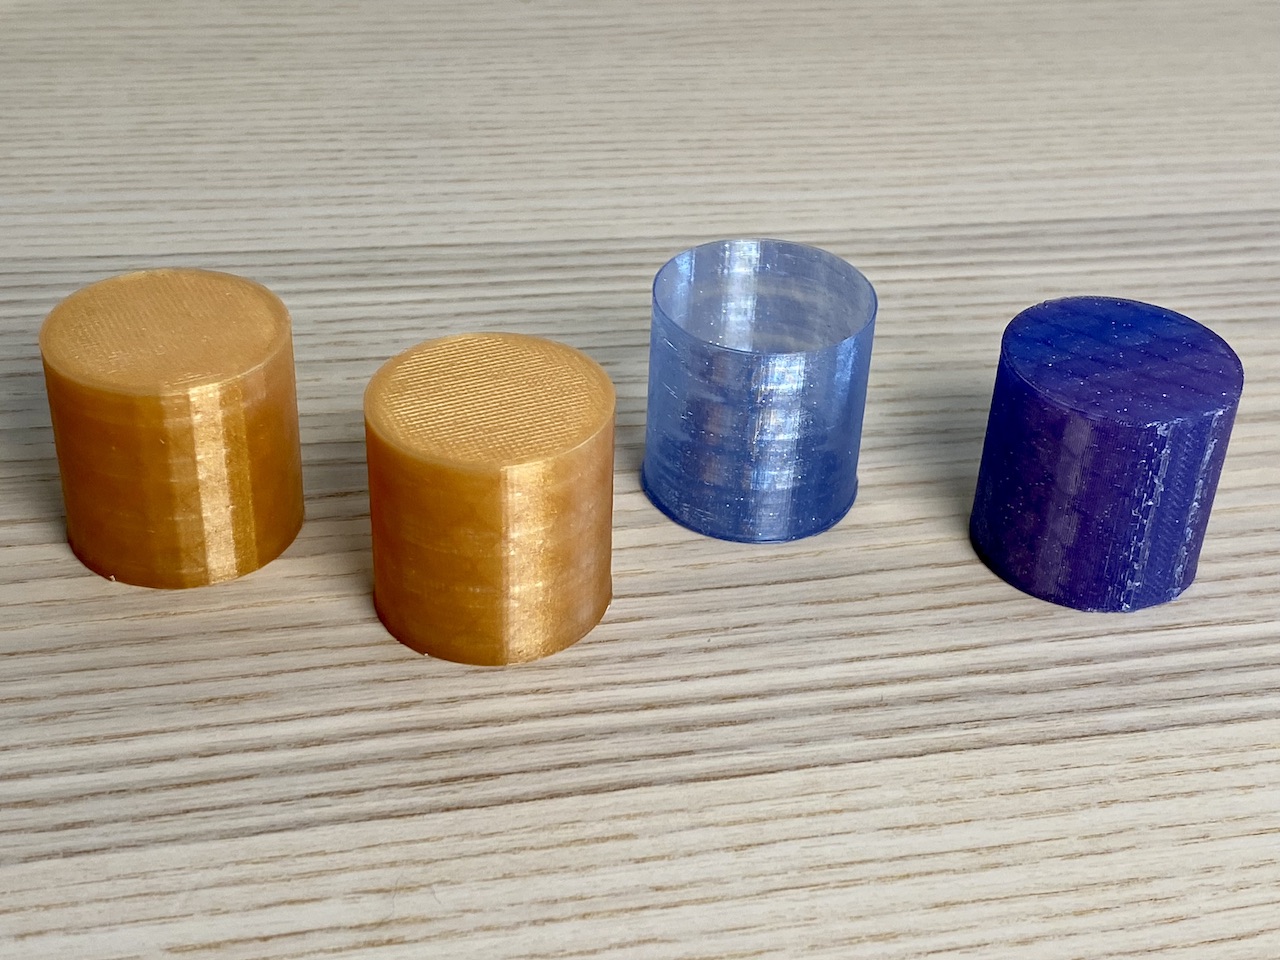
- Cylinder with 0.1mm tolerance
- Print time: 51 min
- Print measurements: 29.79 x 29.24 mm
- Weight: 7.1 g
- Cylinder with 0.001mm tolerance
- Print time: 54 min
- Print measurements: 29.82 x 29.91 mm
- Weight: 7.2 g
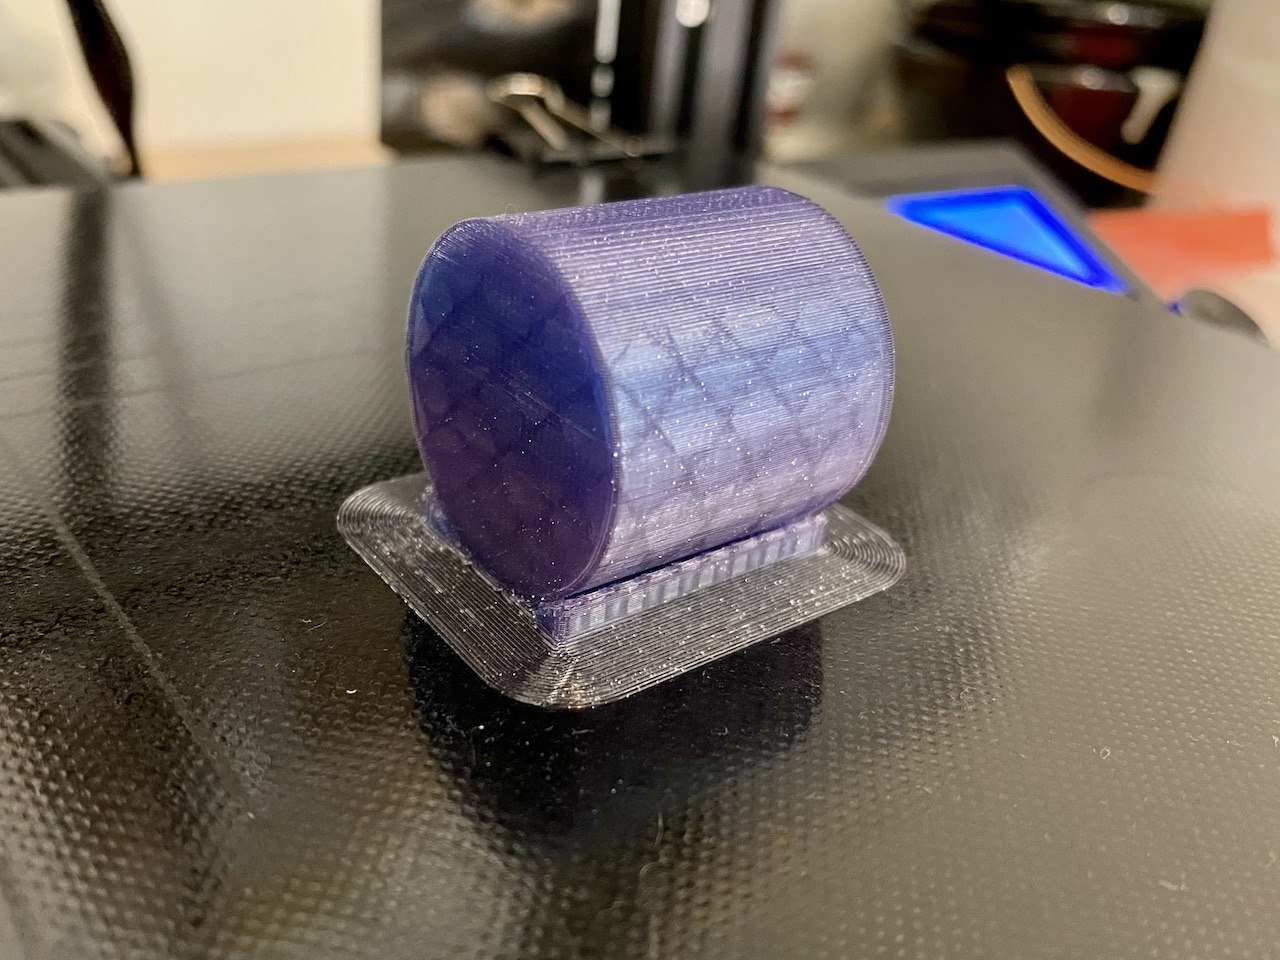
- Cylinder with spiralize outer contour
- Print time: 33 min
- Print measurements: 29.91 x 29.71 mm
- Weight: < 0.1 g
- Notes: I was initially confused when my print finished and had no top. I thought there was an error with my model, or the print ended prematurely. After some googling, I realized that it was not a misprint and that spiralize outer contour only prints a base and the exterior contour of the shape.
- Cylinder printed on its side with supports
- Print time: 66 min
- Print measurements: 29.48 x 30.17 mm
- Weight: 7.9 g

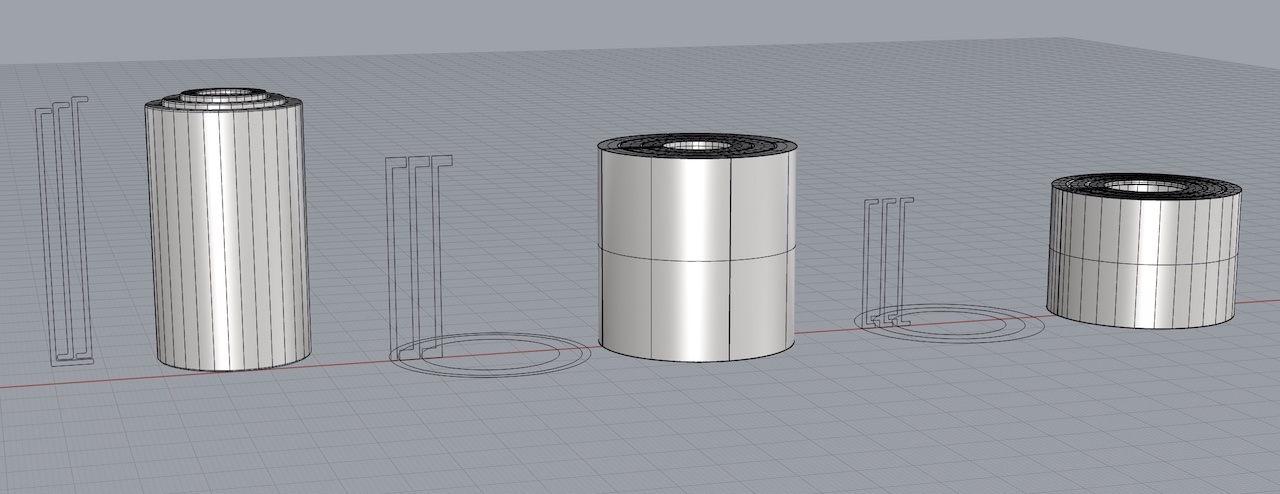
Nested Shape
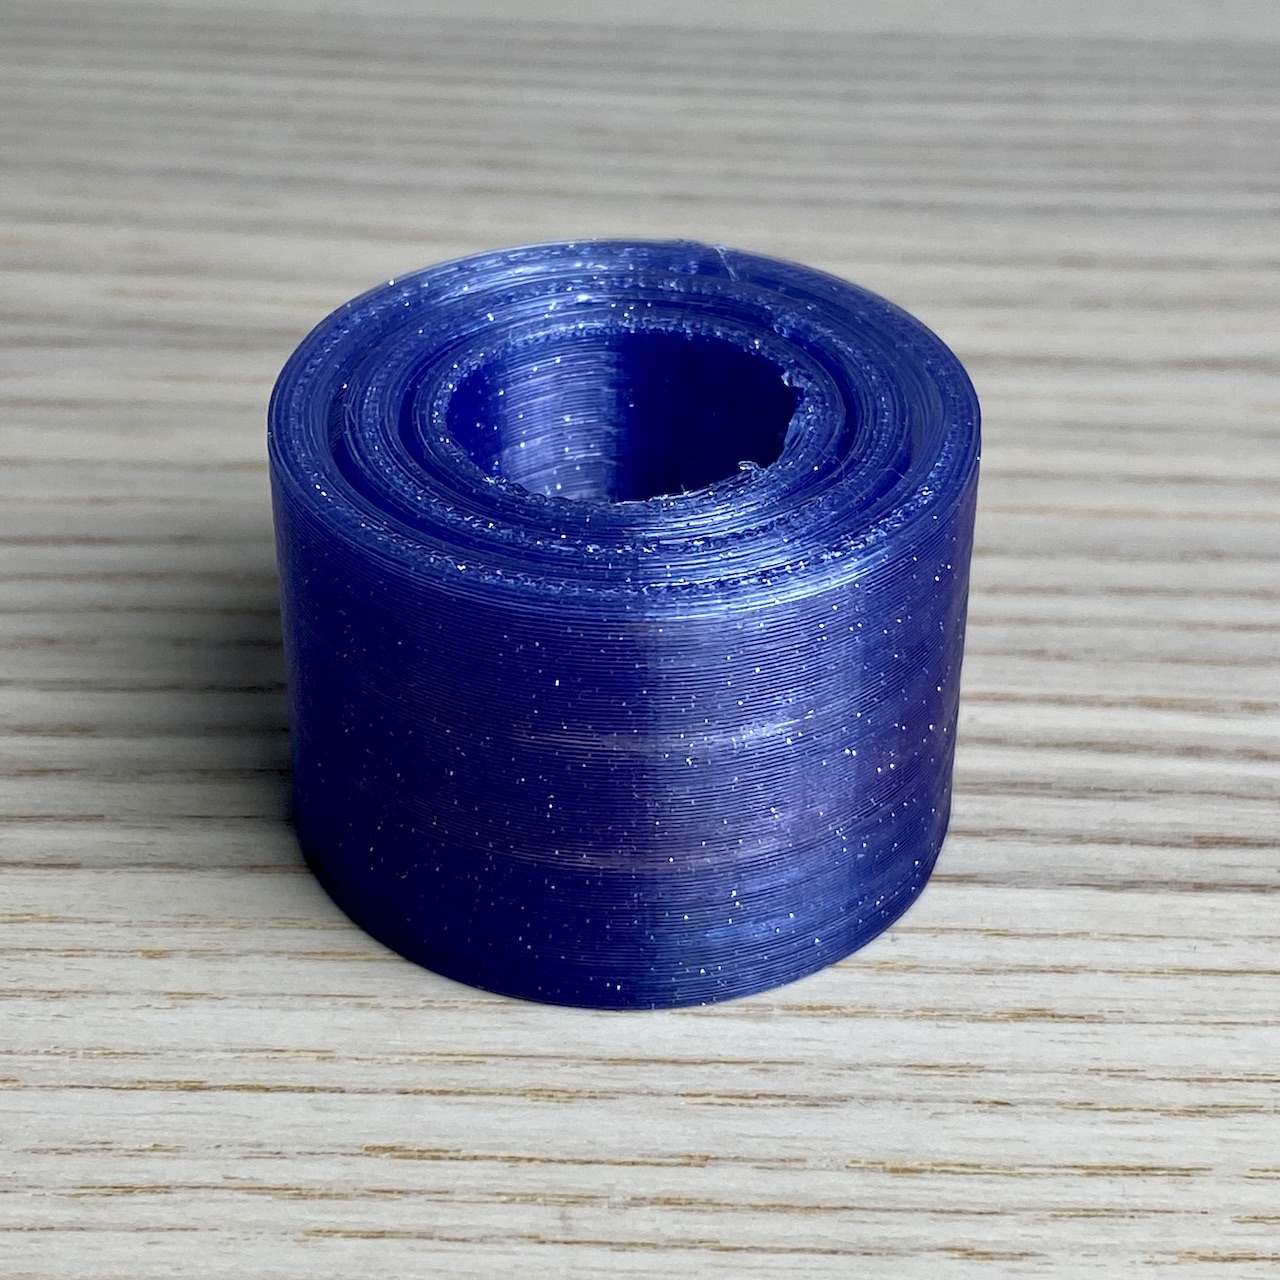
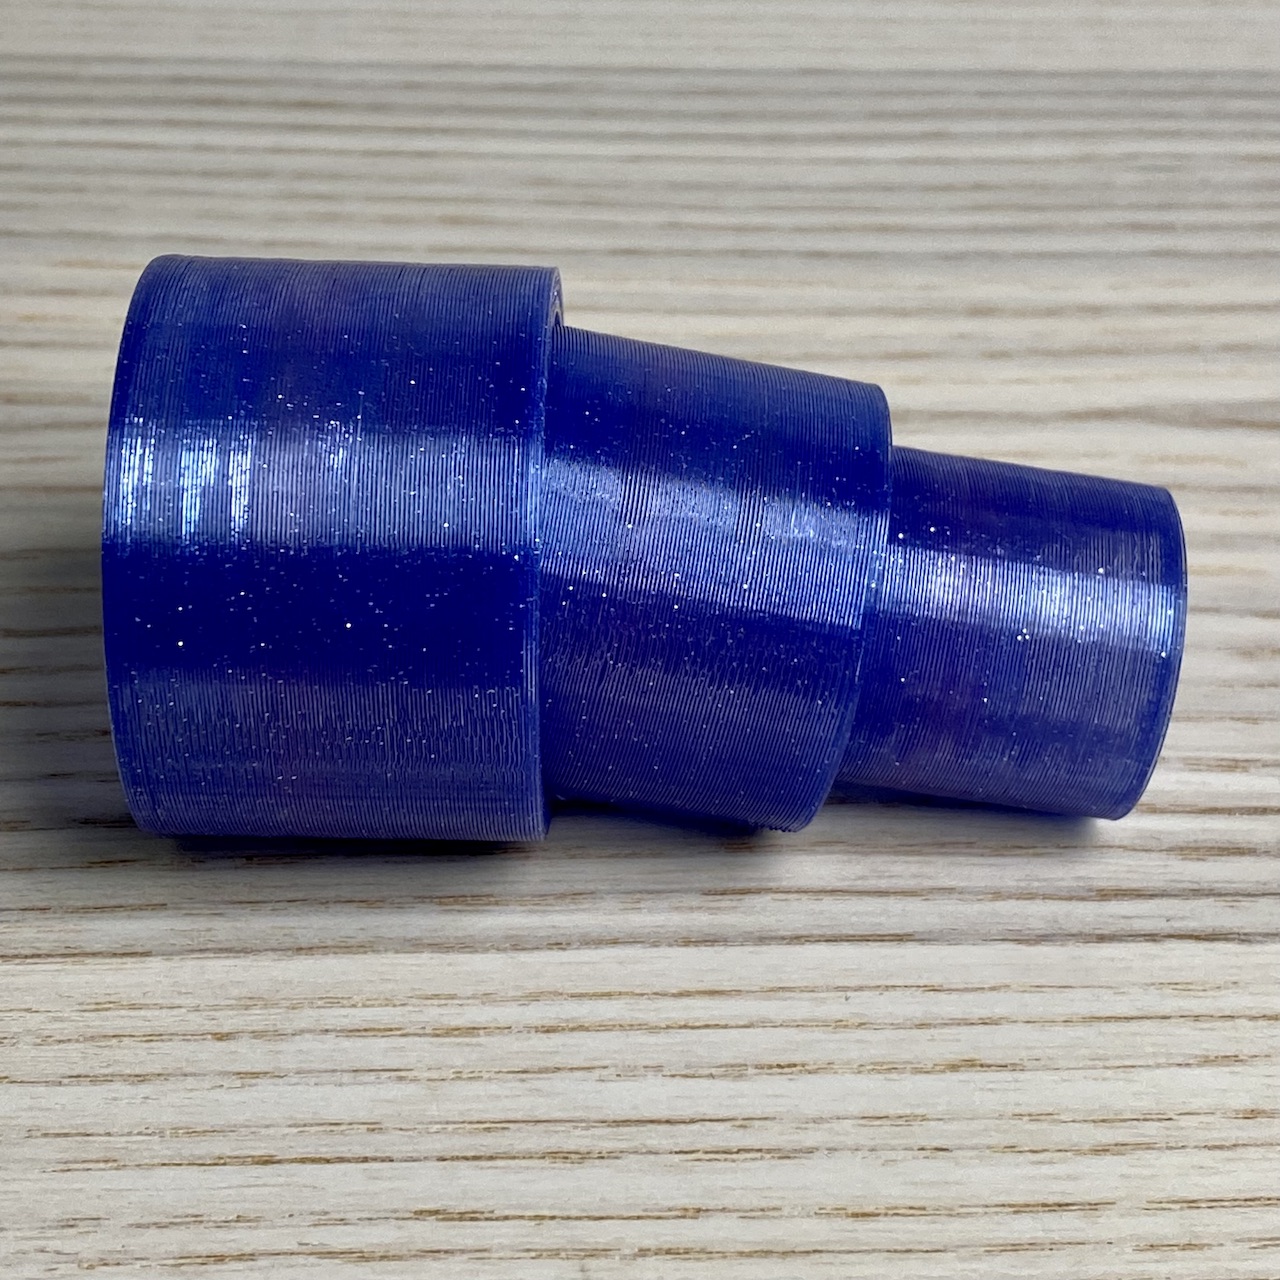
For my nested shape, I wanted to make telescoping cylinders. So I created a simple cross-section in Rhino and used the sweep function to turn it into a cylinder with a locking top lip. I repeated this for the three different size cylinders.
My first print was a failure because I used the support feature. I thought it would need support to print correctly since the inner two cylinders do not adhere to the base of the bed. However, the default supports stuck all of my cylinders together, so they could not slide. This print took 2 hours and 35 minutes.
I repeated this print without using the supports. That reduced the print time down to 1 hour and 28 minutes. However, the print still failed because the nested cylinders wouldn’t telescope. This led me to realize that there was an issue with my model.
I remodeled the telescoping cylinders so that all three cylinders sat flat on the bed, there was more space between the walls of each cylinder, and that the locking lips are thicker. In addition to changing the design, I also didn’t print with adhesion and added a gradual infill. this print was much more successful. Further iterations on this design could be made to have tighter tolerance on the telescoping.
I printed all of these on the low quality setting since it is the quickest and I was iterating through designs. A higher quality setting would likely give me a higher quality print with tighter tolerances.
Failed Prints

3d Model Iterations